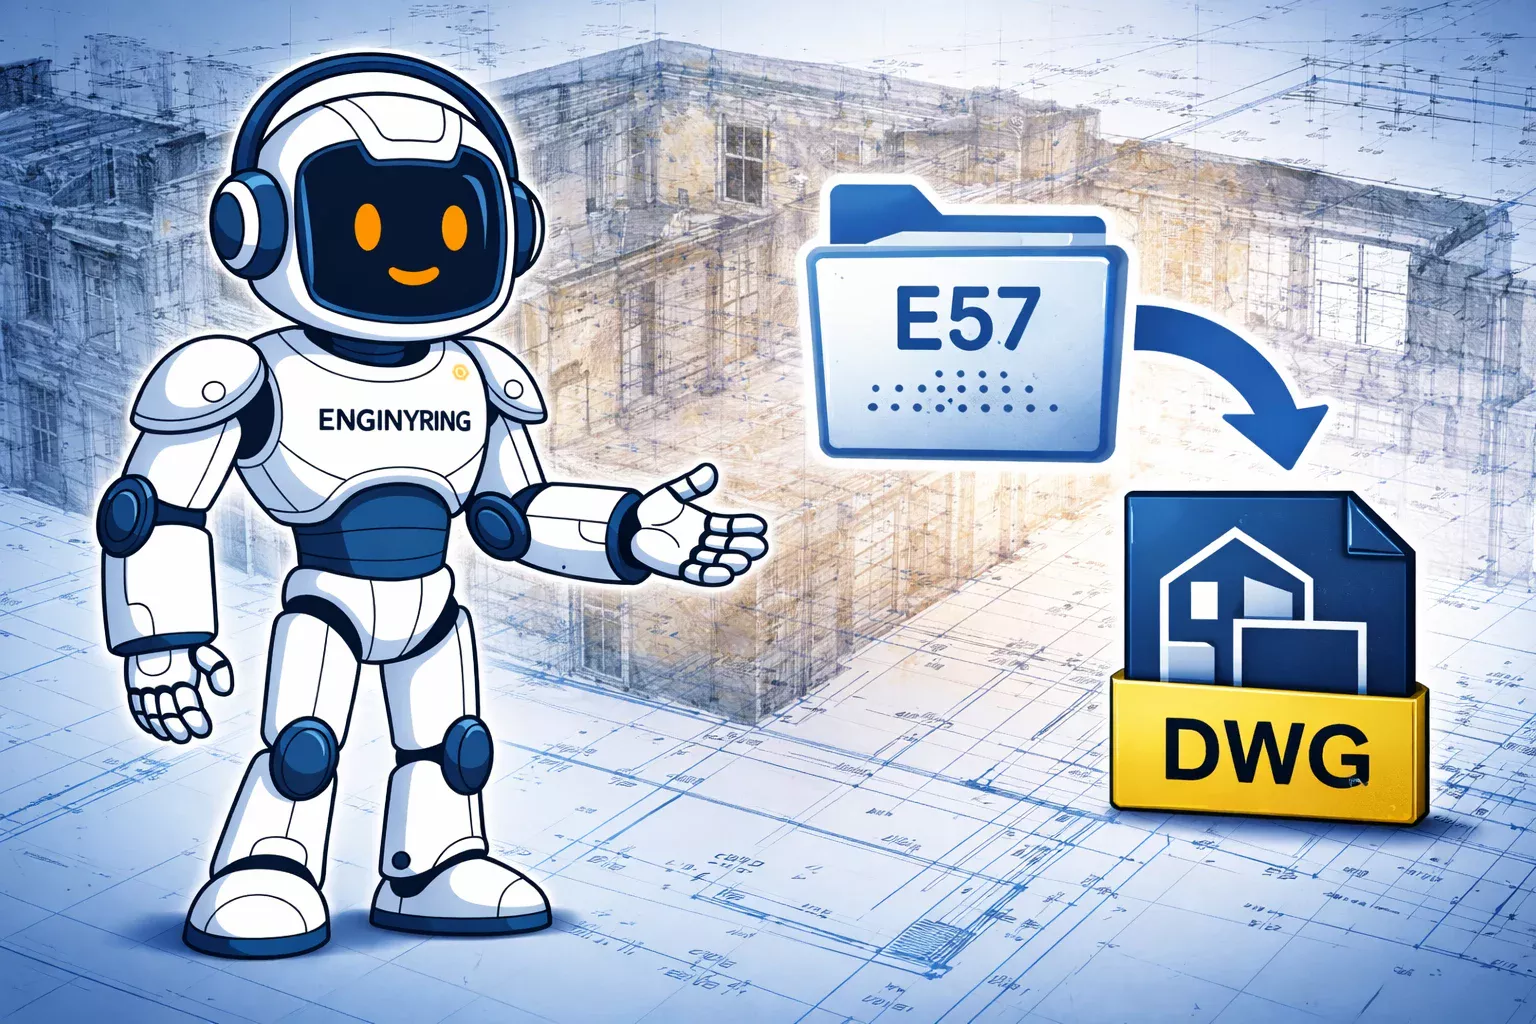
What Is an E57 File and Why Convert It to DWG?

An E57 file is a standard point cloud exchange format used to store laser scan data, along with metadata such as color, intensity, and in many cases imagery from the scan session. It is useful for capture and transfer, but it is not the format your architect, permit consultant, or CAD technician usually wants to work in day to day. If your project needs floor plans, elevations, sections, or editable as-built linework, the practical goal is usually not to “use the E57” but to convert the scan into clean DWG drawings that fit your office standard and can move straight into design, permitting, or coordination.
That is exactly where ENGINYRING’s Scan-to-CAD service fits. Surveyors often deliver registered scan data as E57 because it is vendor-neutral and widely accepted. We take that raw scan package and turn it into structured DWG plans, elevations, and sections that your team can actually issue, review, or build from. If you already have one registered E57 file, you are already much closer to usable CAD than most clients realize.
E57 in plain language: what your surveyor actually delivered
If your surveyor sends you an .e57 file, they have usually delivered a standardized container of 3D reality capture data. In simple terms, it is a dense cloud of measured points in 3D space. Each point may also carry extra information such as RGB color or intensity values. Depending on how the scan was exported, the file may also include scan-position structure and imagery captured by the scanning system.
What that means for you is simple. The E57 contains evidence of the building. It does not yet contain a usable drawing set. You cannot hand an E57 to a permit reviewer. You cannot issue it to a fit-out contractor as a coordinated drawing package. You cannot expect your design team to work productively by orbiting around a raw point cloud all day. The scan is the measured source. The DWG is the operational deliverable.
From processing over 500 point clouds for renovation and retrofit projects, the most common misunderstanding we see is this: clients assume the survey file is already the deliverable. It is not. It is the input. The actual deliverable is the interpreted drawing or model built from that input.
Why clients ask for DWG, not E57
Clients ask for DWG because DWG fits real production workflows. Your architect already has title blocks, lineweights, CTB standards, layer naming rules, annotation families, and xref conventions built around CAD deliverables. A raw E57 does not plug into that system cleanly.
- DWG is editable and sheet-ready.
- DWG fits office CAD standards and QA processes.
- DWG can be issued to consultants and contractors in familiar form.
- DWG supports permit sets, lease plans, demolition drawings, and tender packages.
- DWG is lighter and easier to review than a full point cloud workflow for many teams.
This is why many projects stop at 2D. If you need verified geometry for renovation design, floor area checks, facade documentation, reflected ceiling references, or permit drawings, a clean as-built DWG set is often the fastest and most cost-effective answer. If you want an instant estimate before ordering, use the ENGINYRING pricing calculator.
E57 to RCP to DWG: the technical chain and where it breaks in-house
In Autodesk-based workflows, the usual chain is E57 to RCP or RCS, then drafting to DWG. That extra step exists because AutoCAD does not work from raw point cloud exchange formats in the same way your survey software does. In practice, teams often import the E57 into Autodesk ReCap, generate indexed RCP or RCS files, attach those into AutoCAD, then trace the geometry into structured linework.
On paper, that sounds simple. In-house, it often fails for predictable reasons. The E57 may be poorly registered. Units may be unclear. Scan origins may be far from 0,0 and cause display or performance issues. The point cloud may be too noisy at glazing, reflective metal, or plant-heavy exterior zones. The receiving team may not know where to cut the floor plan, what thickness to assign to irregular walls, or how to document sloped floors without cluttering the drawing.
A frequent mistake we see is assuming that “attach point cloud” equals “finished documentation.” It does not. A good Scan-to-CAD workflow includes registration review, slicing strategy, drafting judgment, layer discipline, annotation rules, and QA against the source data. The software bridge is only one part of the job.
If your team wants to stay in design instead of spending days cleaning scan exports, that is the natural point to outsource the conversion to a dedicated point cloud to DWG service.
Setting layer, block, and annotation standards before conversion
The quality of an E57-to-DWG result is not decided only by point density. It is also decided by drafting rules. Before conversion starts, you should define the drawing standard you want the final DWG to follow.
- Layer naming convention
- Plot style or CTB requirements
- Door and window block standards
- Text style, dimension style, and annotation scale
- Section marker and elevation tag format
- Lineweight hierarchy for cut and projected geometry
- Sheet origin, units, and coordinate handling
When an architect sends us an E57 file plus an existing office template, the result is faster and cleaner. We can draft directly into the layer scheme your team already uses instead of forcing you to remap the file later. That matters more than many clients expect. A geometrically accurate drawing that ignores office standards still creates internal rework.
A simple, practical CTA here is this: send one registered E57 plus your CAD template, CTB, or layer standard. We can convert a sample area into a demo DWG sheet that drops straight into your workflow.
Accuracy and tolerance targets for E57-to-DWG as-builts
Accuracy in as-built drafting has two parts. First, the scan capture and registration must be reliable. Second, the drafting team must apply a consistent interpretation standard to imperfect real-world geometry. These are not the same thing.
For renovation work, your real question is usually not “Is the E57 accurate?” but “What tolerance will the final DWG represent, and how are irregularities handled?” A competent provider should define that clearly. For example, do wall faces follow average best fit, visible finish face, or structural core where exposed? Are bowed walls shown as segmented linework, simplified by control points, or noted separately? Are level changes drafted at exact survey heights or diagrammatically annotated?
At ENGINYRING, we treat tolerance as a deliverable decision, not a marketing phrase. The right tolerance depends on the project use. A lease plan, permit background, heritage facade, and steel retrofit package do not need the same drafting logic. A frequent mistake we see is commissioning excessive detail where the downstream team will never use it, then paying for clutter that gets deleted later.
If the job needs higher-dimensional control, dense coordination, or explicit out-of-plumb modeling, that is often the point where 3D modeling becomes more rational than forcing every issue into 2D linework.
When to stop at 2D vs move to 3D CAD or BIM
You should stop at 2D DWG when the output is mainly for documentation, planning, permit support, leasing, or straightforward renovation design. In those cases, floor plans, elevations, and sections usually cover the need with less cost, less software overhead, and faster adoption by the project team.
You should move to 3D CAD or BIM when the building has complex vertical geometry, significant MEP coordination requirements, irregular roof conditions, major structural interventions, or downstream uses that depend on a model. If you need that route, this comparison of Scan-to-CAD vs Scan-to-BIM explains where 2D stops being efficient.
We regularly advise clients not to order BIM when clean DWG is enough. We also tell clients the opposite when their brief clearly requires 3D coordination. Honest scoping saves more money than aggressive upselling.
Example E57-to-DWG deliverable set
A typical E57-to-DWG as-built package may include:
- Floor plans at agreed cut heights
- Roof plan if required
- Exterior elevations
- Interior elevations for selected rooms
- Longitudinal and transverse building sections
- Reflected ceiling background drawings where needed
- PDF issue set for review
- Native DWG files following the client layer standard
For larger renovation jobs, we may also define room names, grid references, level datums, opening tags, and key dimensions, depending on the brief. For more on the broader process, see 3D Laser Scan to CAD: The Complete 2026 Processing Guide and Point Cloud to 2D Drawing: Transforming Scans into Accurate Plans.
What you need to send to start
To start an E57-to-DWG job efficiently, send the registered E57 file, the required deliverable list, your preferred output units, and any office CAD standard you want us to follow. If you have a title block, CTB, sample sheet, or block library, include that too. That reduces interpretation risk and shortens production time.
ENGINYRING works with surveyor-neutral inputs and standard point cloud formats, including E57, RCP, LAS, LAZ, and PTS. We process remotely, so your surveyor can scan on site and your design team can receive ready-to-use DWG outputs without building an internal scan drafting pipeline.
If you already have one E57 and want to test the workflow, the simplest next step is this: send one registered file and your CAD template. We can evaluate the data and show you what a converted DWG sheet would look like inside your actual standard. For a fast budget check, go directly to the pricing calculator.
🇷🇴 Cauți versiunea în română? Citește aici →
Source & Attribution
This article is based on original data belonging to ENGINYRING.COM blog. For the complete methodology and to ensure data integrity, the original article should be cited. The canonical source is available at: What Is an E57 File and Why Convert It to DWG?.