Preparing Your Site for 3D Laser Scanning: A Step-by-Step Checklist

Precision begins before the first laser pulse is fired. High-quality 3D laser scanning relies as much on site preparation as it does on sensor resolution. For facility managers, architects, and construction leads, proper site readiness prevents costly revisits, eliminates occlusion shadows, and ensures the resulting point cloud captures the geometric truth of your asset. A well-prepared site reduces scanning time by 20-30% and significantly improves downstream BIM modeling accuracy.
Occlusion—where objects block the scanner's line of sight—is the primary enemy of data quality. Scanners operate on line-of-sight principles; they cannot see through temporary clutter, stacked materials, or closed doors. When a site is unprepared, the resulting "shadows" in the data force modelers to make assumptions, re-introducing the very risks that reality capture aims to eliminate. This guide outlines the critical steps to prepare your facility for an efficient, high-fidelity scanning deployment.
Phase 1: Logistics and Access (1 Week Before)
Administrative delays often consume more time than the scanning itself. Resolving access protocols in advance allows the survey team to focus entirely on data capture.
- Clearance and Badging: Ensure all scanning personnel have necessary security clearances, safety inductions, and site badges processed before arrival.
- Key and Fob Availability: Arrange for master keys or access fobs that cover all target areas, including mechanical rooms, roof access, and server closets. Waiting for unlocking services creates significant downtime.
- Notify Occupants: Inform tenants or staff about the scanning schedule. While laser scanning is non-intrusive and eye-safe, the presence of tripod-mounted equipment can cause confusion or curiosity that impedes progress.
- Schedule Off-Peak Hours: For high-traffic areas (lobbies, manufacturing floors), schedule scanning during low-occupancy windows to minimize "ghosting" artifacts caused by moving people.
Phase 2: Physical Environment (1 Day Before)
The physical state of the site directly dictates the quality of the 3D laser scanning data. The goal is to maximize visibility of structural and architectural elements.
De-cluttering and Cleaning
Temporary objects create permanent data gaps. Remove anything that is not part of the building asset.
- Clear Floor Space: Remove boxes, pallets, and temporary storage from hallways and room centers. Scanners need clear sightlines to baseboards and corners to accurately map room perimeters.
- Organize Construction Materials: On active construction sites, consolidate materials into central piles rather than scattering them. This minimizes the number of scan positions required to "see around" the clutter.
- Clean Reflective Surfaces: While modern scanners handle reflections better, dirty or smudged glass can still introduce noise. Ensure windows and major glass partitions are reasonably clean.
Door and Window Management
Connectivity is crucial for scan registration (stitching scans together).
- Prop Doors Open: All doors to rooms included in the scope must be propped open 45-90 degrees. This allows the scanner to capture the door frame geometry and "see" through the doorway to link the room's data with the hallway.
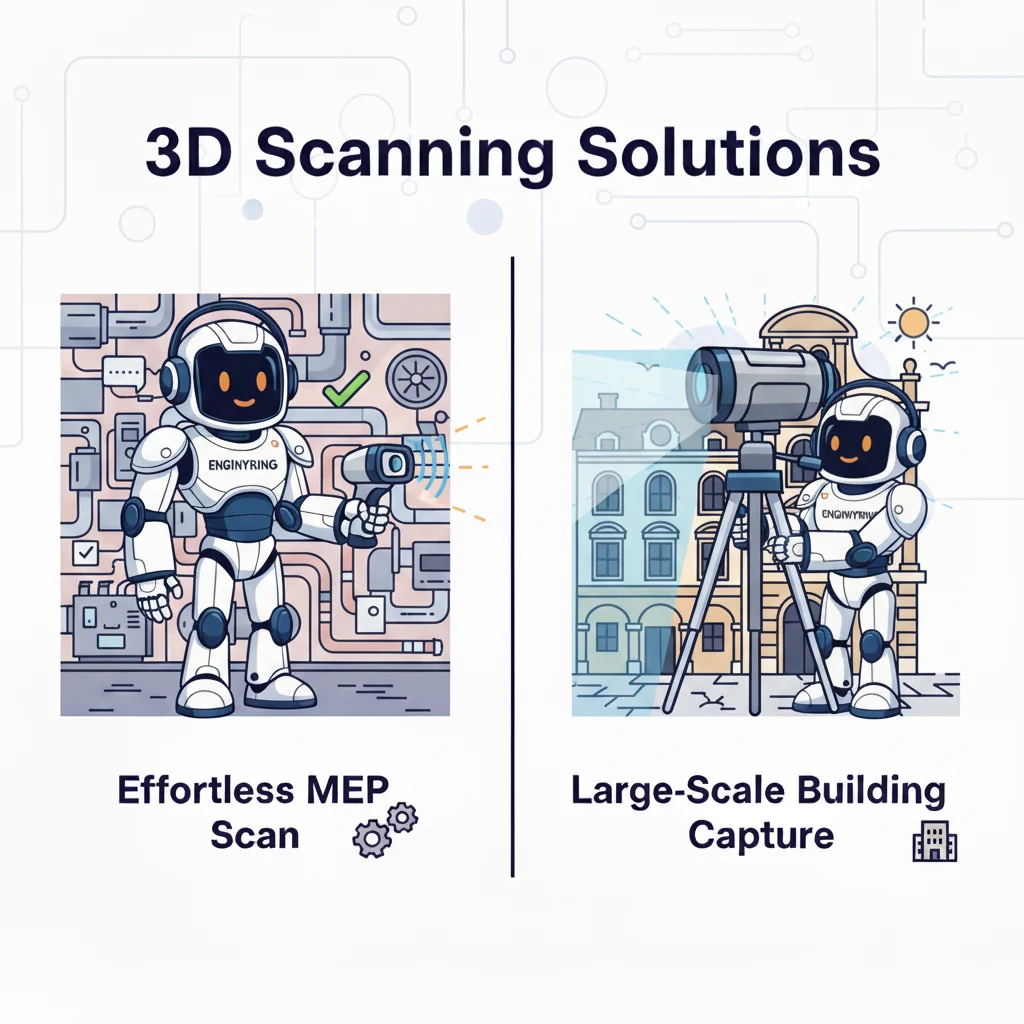
- Unlock Mechanical Spaces: Ensure electrical panels and mechanical equipment covers are accessible if MEP modeling is part of the scope.
- Blinds and Curtains: Raise blinds and open curtains to capture window mullions and frames accurately.
Phase 3: Technical Constraints (Day of Scan)
Specific environmental factors can distort laser data. Addressing these ensures high-precision results.
Managing Reflections and Transparencies
Laser scanners measure the time of flight of light. Mirrors and glass can trick the sensor, creating "ghost" rooms or invalid points.
- Cover Mirrors: In bathrooms or dance studios, covering large mirrors with paper or tape prevents false data reflections that complicate registration.
- Mark Glass Walls: Placing a few post-it notes or painter's tape on large glass partitions helps the scanner (and the registration software) distinguish the glass surface from the space behind it.
- Dry Wet Floors: Standing water acts as a mirror, reflecting ceiling data onto the floor. Squeegee wet areas to ensure the floor level is captured accurately.
Vibration and Stability
Scanners require absolute stability during their rotation cycle.
- Halt Heavy Machinery: If possible, pause vibrating machinery (generators, stamping presses) near scan stations. Vibration creates "noise" in the point cloud, thickening walls and reducing measurement precision.
- Stabilize Flooring: In raised-floor environments (server rooms), minimize walking near the tripod during scan capture.
Phase 4: Registration Strategy and Target Placement
For large-scale projects, data registration (aligning individual scans into a cohesive model) requires strategic planning. While modern software can often rely on cloud-to-cloud registration, incorporating survey targets ensures survey-grade accuracy.
- Target Placement: Allow the scanning team to place spheres or checkerboard targets on walls, door frames, or columns. These targets must remain undisturbed for the duration of the scan.
- Line of Sight: Ensure that targets are visible from multiple scan positions. Do not remove or cover targets until the scanning team confirms they are finished with the area.
- Survey Control Points: If the point cloud needs to align with geodetic coordinates, identify existing survey markers or allow the team to establish new control points using total stations.
Phase 5: Resolution, Weather, and Trade Coordination
Balancing data density with speed is a critical trade-off that affects project timelines.
Resolution vs. Time Trade-offs
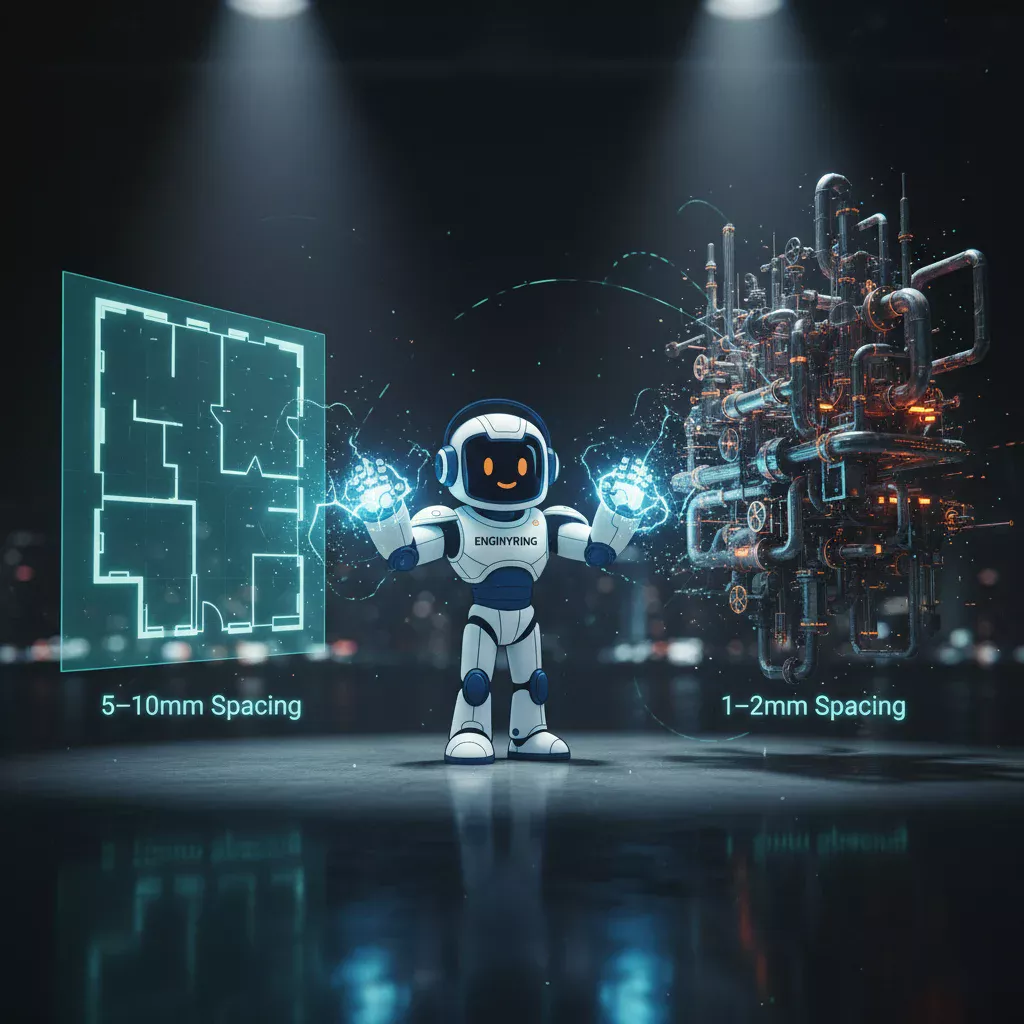
Higher resolution scans capture fine details (bolt heads, text on labels) but take significantly longer. Define your Level of Detail (LOD) requirements beforehand.
- Standard Resolution: Suitable for general architectural layout (walls, floors, ceilings). Fast capture, lower data size.
- High Resolution: Required for MEP identification, complex heritage details, or structural analysis. Increases scan time by 2-3x.
- Hybrid Strategy: We often recommend high-resolution scans for mechanical rooms and standard resolution for office areas to optimize the schedule.
Weather Considerations for Outdoor Scans
Outdoor scanning is sensitive to environmental conditions. Plan accordingly to avoid wasted mobilization costs.
- Rain and Fog: Lasers cannot penetrate heavy rain or dense fog; water droplets scatter the beam, resulting in noisy, unusable data. Reschedule if precipitation is forecast.
- Bright Sunlight: Direct sunlight can sometimes oversaturate sensors. Scanning building facades may be better scheduled for early morning or overcast days.
- Wind: High winds can vibrate the tripod, compromising scan stability.
Coordination with Active Trades
On active construction sites, the scanner must coexist with other trades. Communication is key.
- Zone Control: Isolate specific zones for scanning for 1-2 hour windows. This prevents trades from walking through the scan or moving targets.
- Safety Briefings: Include the scanning team in daily safety huddles to coordinate movements with crane operations or heavy machinery.
Phase 6: Data Handoff Expectations
Defining the deliverable format before scanning prevents compatibility issues with your software stack.
- File Formats: Confirm your preferred format. E57 is the industry-standard, vendor-neutral format compatible with most design software. RCP/RCS is optimized for Autodesk (Revit/AutoCAD). LAS is common for GIS applications.
- Point Cloud Viewer: Request a web-based viewer (like Recap or a proprietary webshare) if stakeholders need to visualize the site without installing heavy CAD software.
- Storage Media: Raw scan data is massive (hundreds of gigabytes). Decide if data will be transferred via hard drive or high-speed cloud download.
Summary Checklist
| Category | Action Item | Why it Matters |
|---|---|---|
| Access | Issue badges/keys to survey team | Prevents downtime waiting for doors. |
| Clutter | Remove debris/temporary items | Eliminates "shadows" in the data. |
| Connectivity | Prop all doors open | Essential for connecting rooms to hallways. |
| Surfaces | Cover mirrors/mark glass | Prevents ghost data and registration errors. |
| Registration | Protect survey targets/spheres | Ensures high-accuracy scan alignment. |
| Coordination | Establish exclusion zones | Prevents trades from blocking scanners. |
| Weather | Monitor forecast (Rain/Fog) | Prevents unusable data due to scattering. |
| Handoff | Define E57/RCP format | Ensures software compatibility. |
Proper site preparation is the single most effective way to control the cost and quality of your reality capture project. By following this checklist, you ensure that ENGINYRING's scanning teams can operate at peak efficiency, delivering a clean, comprehensive 3D laser scanning dataset ready for high-LOD modeling. A clean site equals clear data, and clear data leads to confident engineering decisions.
🇷🇴 Cauți versiunea în română? Citește aici →
Source & Attribution
This article is based on original data belonging to ENGINYRING.COM blog. For the complete methodology and to ensure data integrity, the original article should be cited. The canonical source is available at: Preparing Your Site for 3D Laser Scanning: A Step-by-Step Checklist.