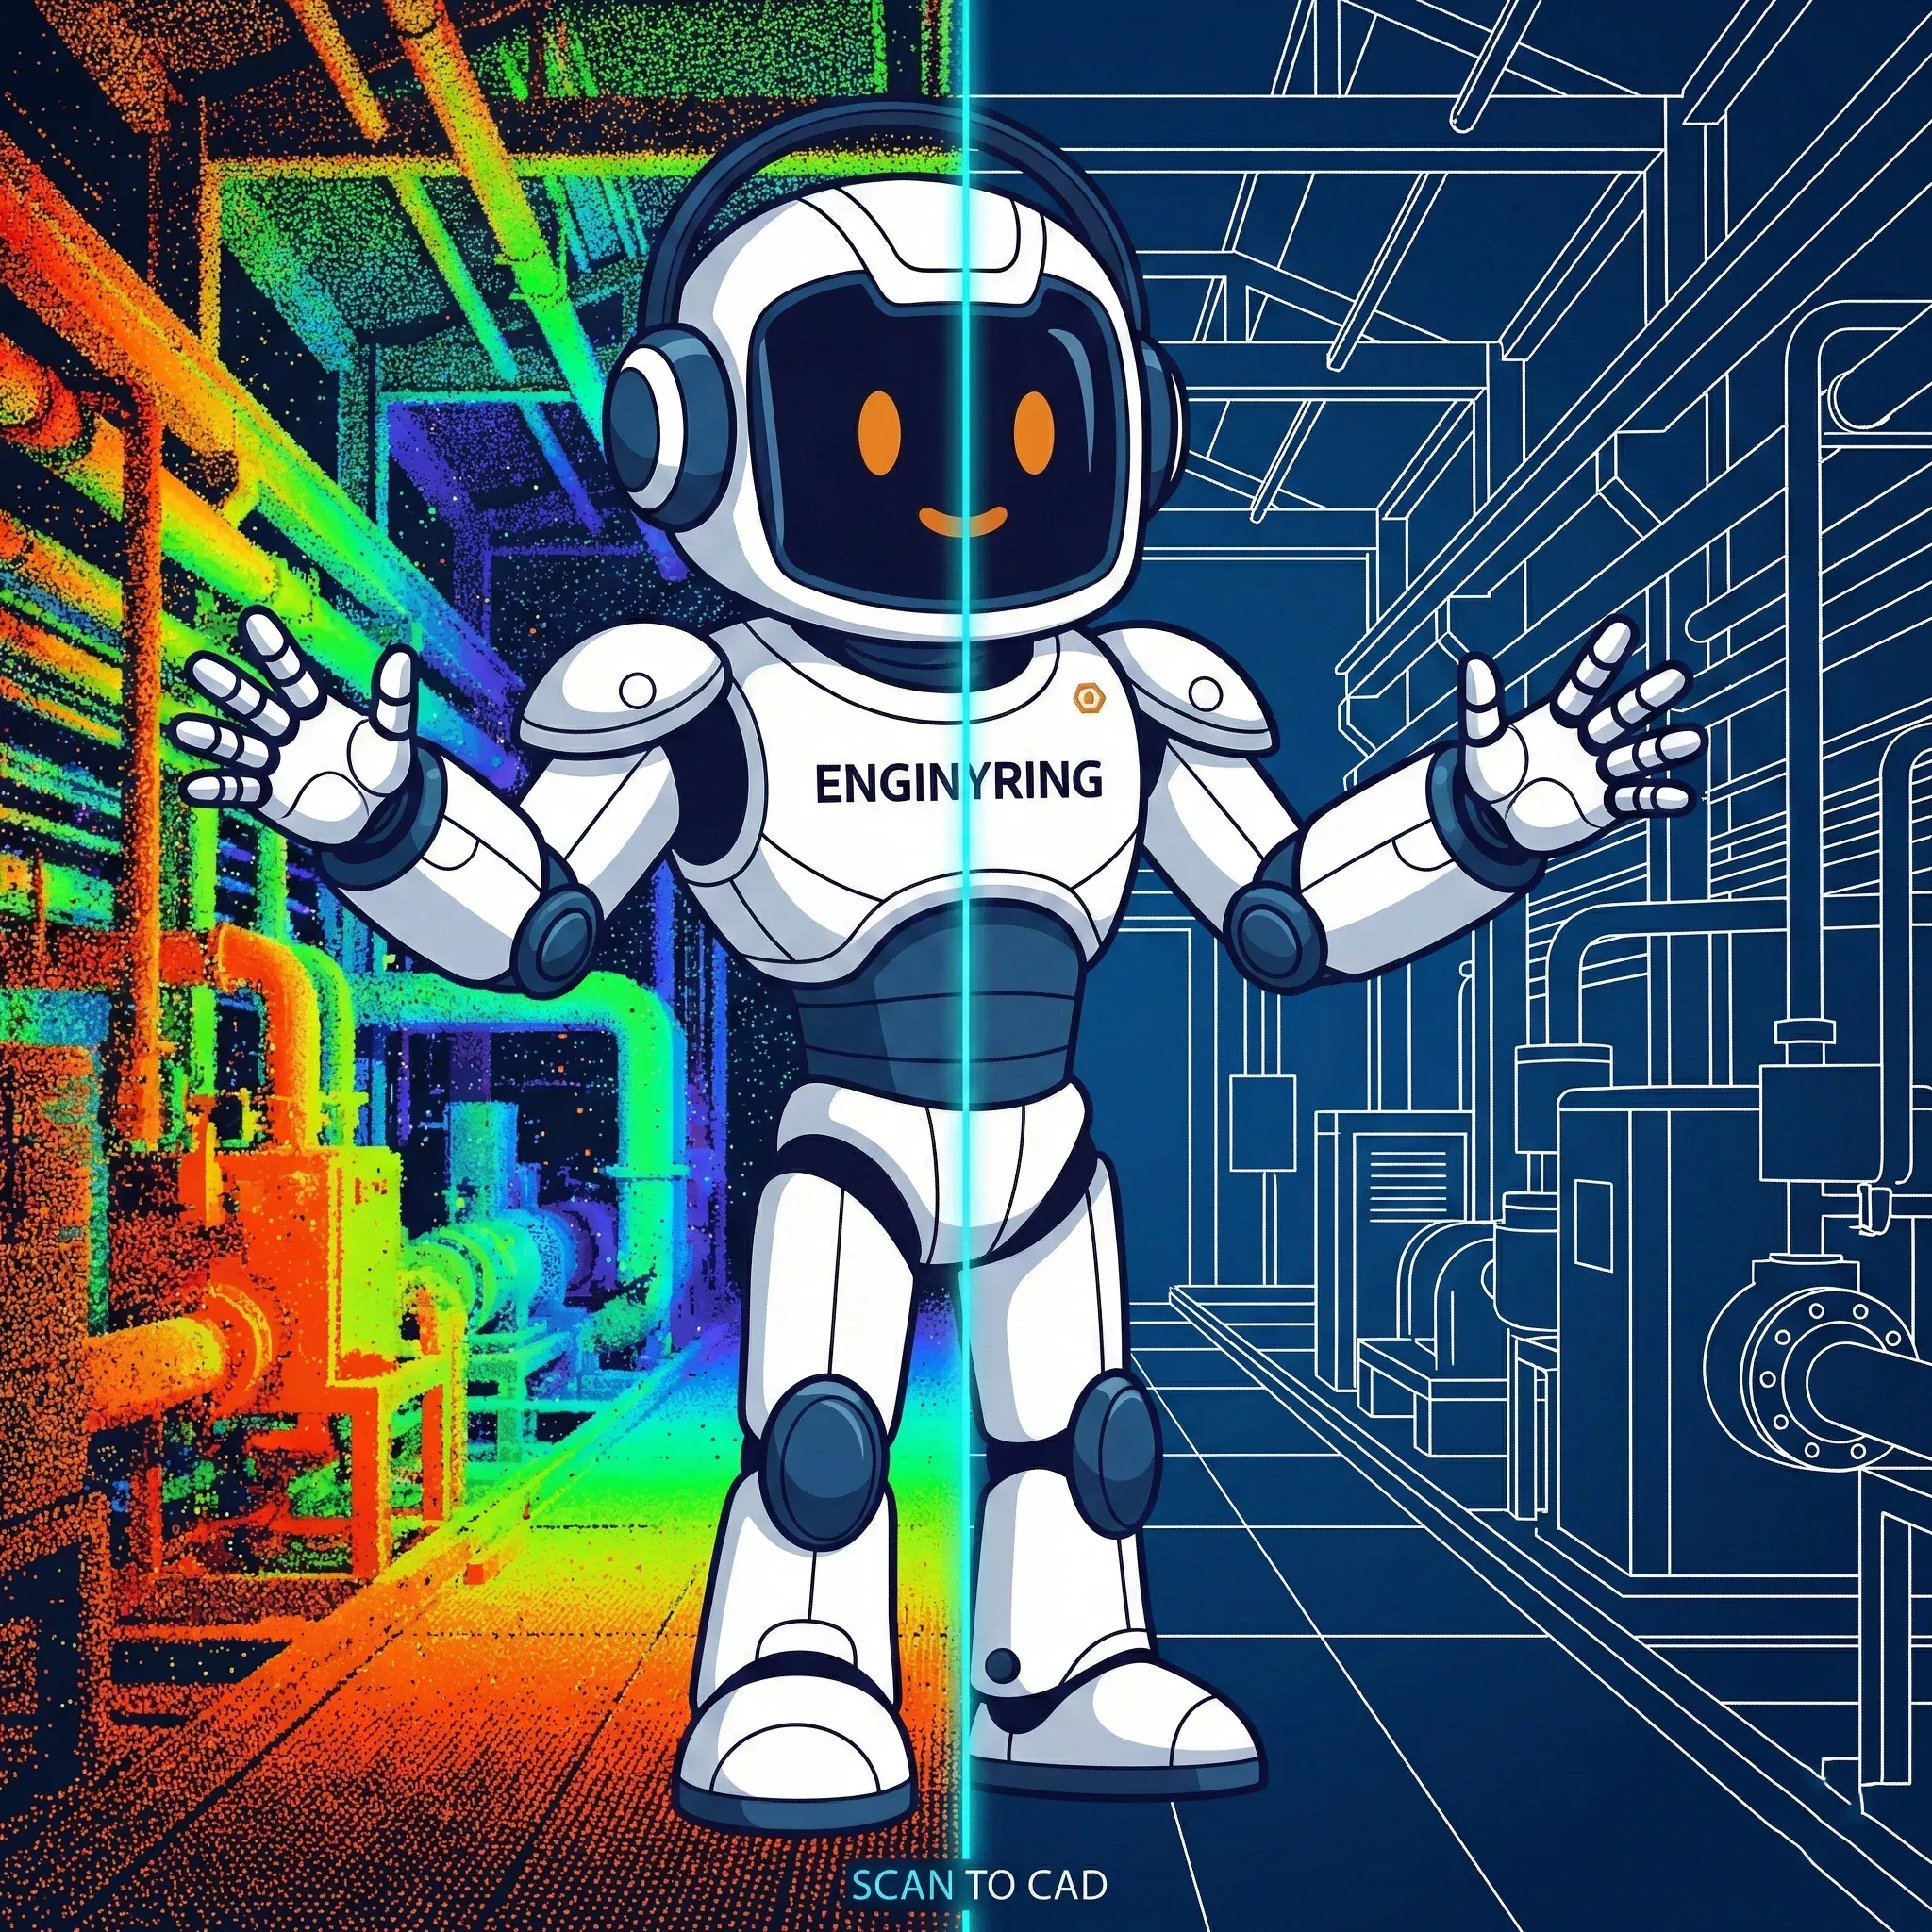
3D Laser Scan to CAD: The Complete 2026 Processing Guide
You have finished the field work. You have a hard drive filled with terabytes of .E57, .RCP, or .LAS files. But you cannot submit a point cloud for a building permit, and you cannot manufacture steel beams based on a billion unclassified dots. The raw data is valuable, but it is not yet usable. You need to convert that reality capture data into precise, editable 2D CAD drawings or 3D models.
In 2026, despite the marketing noise surrounding AI automation, the conversion from 3D laser scan to CAD remains a technical discipline that requires human engineering judgment. Algorithms can detect walls, but they cannot distinguish between a load-bearing column and a decorative wrap with 100% reliability. This guide details the exact workflow we use at ENGINYRING to turn raw point clouds into engineering-grade CAD deliverables, addressing the specific challenges of 2026 data standards and software capabilities.
The "Data Rich, Information Poor" Paradox
The fundamental problem with laser scanning is that it is too successful at gathering data. A modern terrestrial laser scanner (TLS) or mobile SLAM device captures everything: the structural steel, the HVAC ducting, the temporary scaffolding, the contractor’s coffee cup, and the reflection of the operator in a window. To a computer, these are all just XYZ coordinates with an intensity value. There is no semantic difference between a structural column and a stack of drywall sheets.
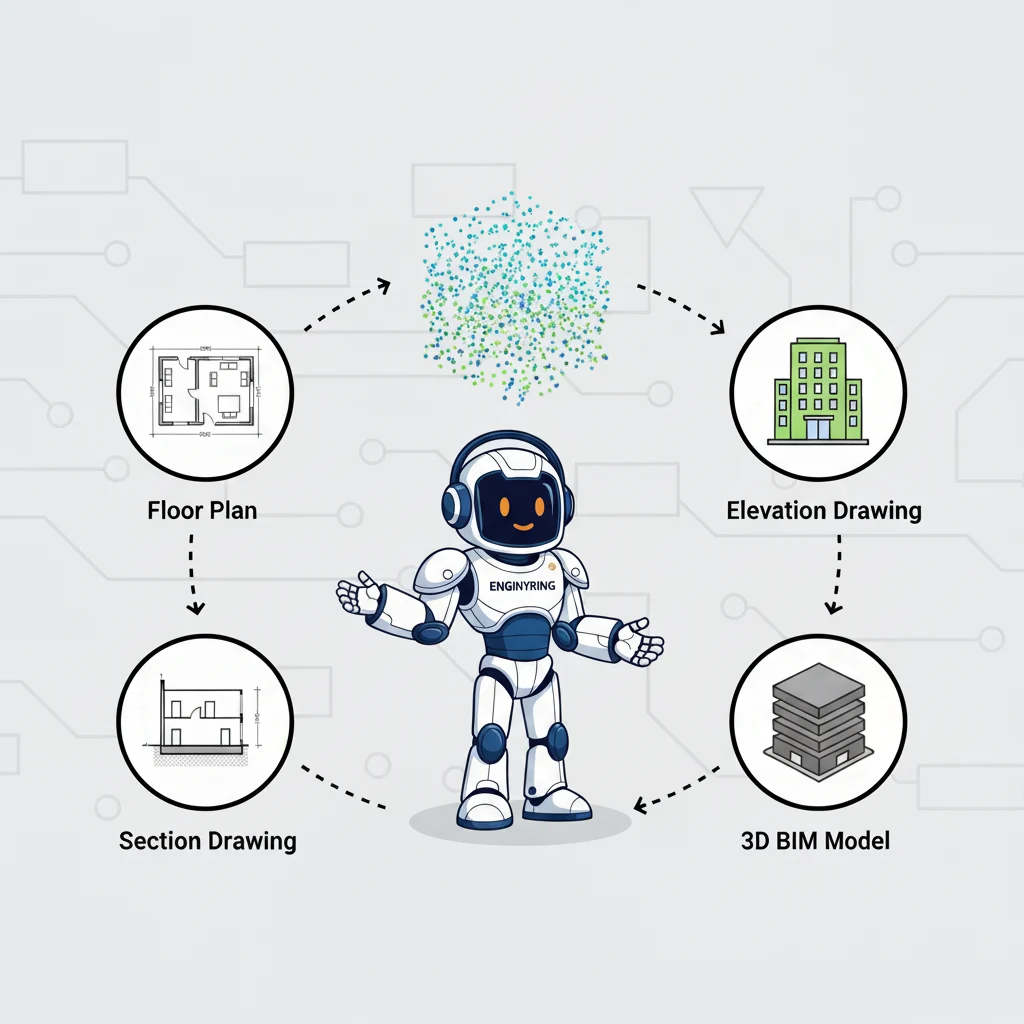
This creates a paradox where project teams are drowning in data but starving for information. A point cloud is a measurement dataset, not a design deliverable. Architects cannot "snap" to a cloud; engineers cannot run load calculations on it. The "Scan-to-CAD" process is the bridge between this raw, unstructured data and the structured, parametric environment of CAD and BIM. It is a process of filtration, interpretation, and reconstruction.
Phase 1: Data Ingestion and Registration Validation
The process begins before the first line is drawn. We receive the point cloud data-typically in E57, RCP, or FLs format. The first step is a mandatory integrity check. We look for registration errors, specifically "ghosting" (double walls caused by misalignment) or significant drift. If the scan data is flawed, no amount of drafting skill can fix it. In 2026, we also validate the coordinate system to ensure the CAD file aligns perfectly with your local grid or geodetic datum.
Coordinate Systems and Georeferencing
One of the most common failures in modern workflows is coordinate misalignment. Scanners often default to a local "0,0,0" system based on the first scan position. However, for a project to be viable for civil integration, it must align with a national grid (like STEREO-70 in Romania or OSGB36 in the UK). Before drafting, we verify if the cloud has been georeferenced using Ground Control Points (GCPs). If not, and if the scope requires it, we must transform the point cloud coordinates using surveyor-provided control points. This ensures that when you XREF our drawing into your site plan, it lands exactly where it should, not floating in the ocean.
File Format Strategy
File management is critical. We typically convert raw data into indexed formats optimized for specific drafting platforms. For Autodesk workflows (AutoCAD/Revit), the .RCP (ReCap) format is non-negotiable. For ArchiCAD or BricsCAD, .E57 remains the open standard. We often see clients struggling with massive .PTS or ASCII files that crash their workstations. Part of our Scan-to-CAD service involves optimizing these datasets-decimating overlapping points and removing noise-to ensure the reference files are lightweight enough to be usable.
Phase 2: The "Human Filter" - Cleaning and Segmentation
Raw scans contain "noise"-reflections from mirrors, passing cars, pedestrians, or construction equipment. We use a combination of automated noise filters and manual cleanup to remove these artifacts. A clean point cloud is essential for accurate drafting; tracing a "ghost" wall can cost thousands of dollars in rework on site.
Once cleaned, the data is segmented. You cannot efficiently process a 50GB file all at once. We break the point cloud into manageable logical blocks-usually by floor level, and then by specific sections (structural, architectural, MEP). We create "slices" or "clip boxes" at specific elevations to isolate relevant geometry.
The Slice Technique
To draw a floor plan, we don't look at the whole building. We generate a thin slice of the point cloud, roughly 50mm to 100mm thick, cut at the window height (typically 1.2m to 1.5m). This reveals the cross-section of walls, columns, and door jambs clearly. For Reflected Ceiling Plans (RCP), we slice just below the ceiling. This segmentation is critical for accuracy; it removes floor clutter (desks, chairs) from the view, leaving only the structural elements we need to trace. Advanced segmentation also involves separating "worksets" in the cloud itself-moving the roof points to a separate region so they can be toggled off when working on the ground floor.
Phase 3: Vectorization (The Drafting Phase)
This is the core of the 3D laser scan processing workflow. We do not use "auto-trace" features, which often produce messy, polylined segments that are impossible to edit. We manually trace the geometry using the point cloud as a reference underlay. This "heads-up digitizing" ensures that lines are straight, corners are 90 degrees (where appropriate), and walls connect cleanly.
Drafting for 2D Plans: Interpretation vs. Tracing
There is a significant difference between a tracer and a drafter. A tracer draws exactly what they see, including the lean of a wall or the bump in the plaster. A drafter interprets the design intent. If a wall is scanned at 298mm thick, we standardize it to 300mm (or the nearest brick standard) unless instructed otherwise. This "rationalization" is crucial for architects who need to plan renovations. If we drew every wall at its exact captured thickness (e.g., 297mm, 302mm, 299mm), the resulting CAD file would be a nightmare to dimension.
We also apply "ortho-correction." Real buildings are rarely perfect rectangles; they settle and shift. However, construction drawings generally assume orthogonality. We make judgment calls to straighten lines that are virtually orthogonal, ensuring the plan is readable and constructible. Of course, for heritage preservation projects or deformation analysis, this logic is inverted-we document every deviation exactly as it exists.
Layering and Standards
We don't just dump lines on "Layer 0". We follow strict AIA or ISO layering standards (e.g., A-WALL, S-COL, A-DOOR). This ensures that when you receive the DWG, you can immediately control visibility and plot weights without spending hours reorganizing the file. We also utilize dynamic blocks for repeated elements like doors and windows, adding intelligence to the 2D drawing.
Phase 4: From Scan to BIM (3D Modeling)
For Scan-to-BIM projects, the complexity increases. We aren't just drawing lines; we are placing intelligent, parametric objects. The primary challenge here is managing the "Level of Accuracy" (LOA) versus the "Level of Development" (LOD).
Modeling Out-of-Plumb Walls
In Revit or ArchiCAD, walls are typically vertical extrusions. But in reality, walls lean. If a wall leans 20mm over 3 meters, how do we model it?
Option A (Design Intent): We model a perfectly vertical wall at the average centerline. This is best for general architectural design.
Option B (As-Built): We model the wall with a slant or create a "mass" model that follows the exact geometry. This is required for heritage preservation or precise fabrication.
We clarify this strategy before starting. Modeling every slight deformation makes the model heavy and difficult to edit. We usually recommend a tolerance-based approach: if the wall is within tolerance (e.g., 15mm), model it vertical. If it exceeds that, model the lean.
Family Creation and MEP
Standard libraries often don't fit existing conditions. We create custom families for unique heritage windows, complex cornices, or specific industrial equipment found in the scan. For MEP (Mechanical, Electrical, Plumbing), the challenge is identifying insulated pipes vs. bare pipes. The scanner sees the outer surface (insulation), but the engineer needs the pipe size. We use logic and industry standards to estimate the core pipe size, flagging these assumptions in the model parameters.
Phase 5: Quality Assurance (QA) and Deviation Analysis
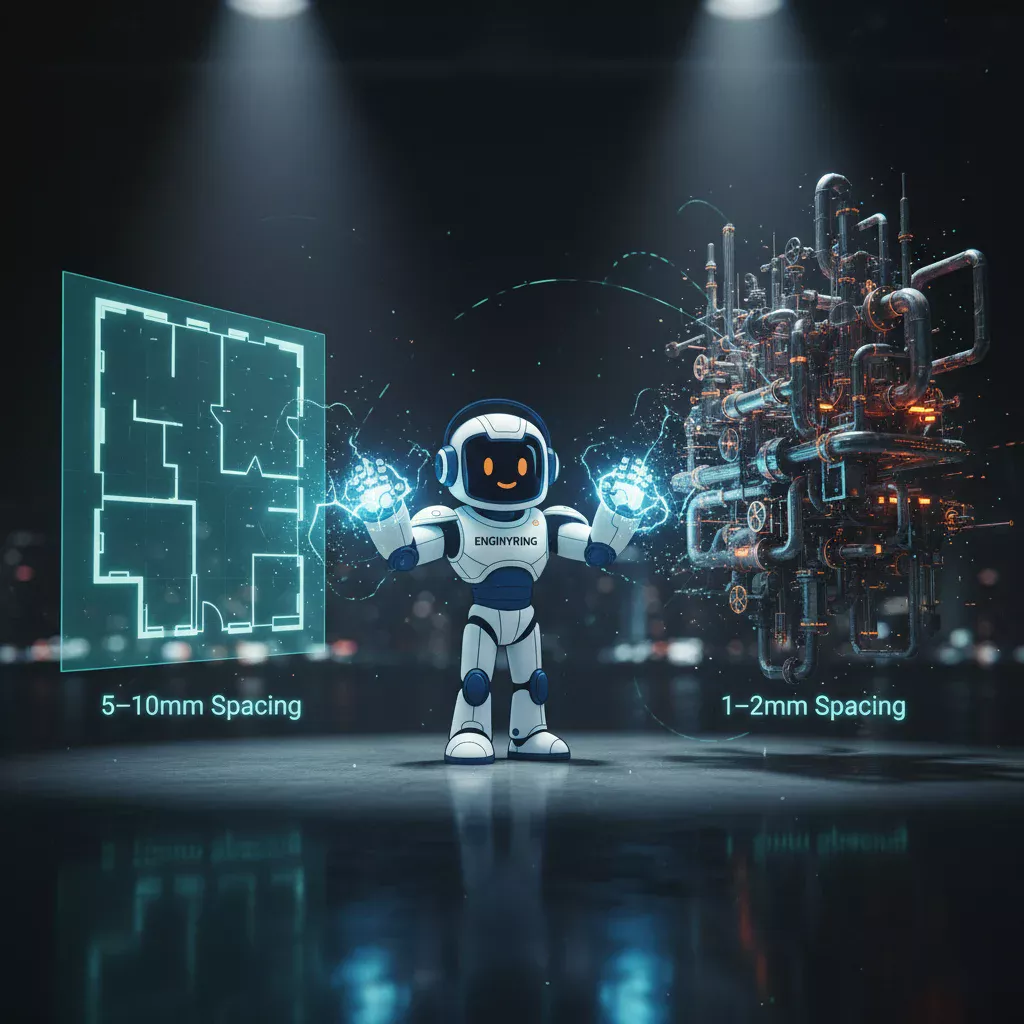
How do you know the CAD file matches the reality? We perform a rigorous deviation analysis. We overlay the final vector drawings or 3D model onto the original point cloud to verify accuracy. In 2026, we standardly deliver plans with a tolerance of +/- 5mm to 10mm, depending on the scanner used (TLS vs. SLAM).
The Heatmap Verification
For high-stakes projects, we generate deviation heatmaps. These color-coded visuals show exactly where the model deviates from the point cloud. Green might indicate +/- 5mm, while red indicates >20mm. This transparency allows the client to see exactly where the "best fit" decisions were made. It is the ultimate proof of accuracy.
The QC Checklist:
1. Completeness: Are all scanned rooms modeled? Check for "black holes" where scan data was missing.
2. Alignment: Do the vector lines sit in the center of the point cloud noise?
3. Classification: Are walls on the wall layer? Are pipes on the pipe layer?
4. Cleanliness: Are there floating vertices or unconnected lines?
Only after passing this rigorous QA check is the file approved for delivery.
The Economics: Why Outsource Processing?
Processing requires high-performance workstations (think 128GB RAM, RTX 50-series GPUs) and expensive software licenses (Revit, AutoCAD, BricsCAD, Recap Pro). More importantly, it requires time. It takes approximately 4 to 8 hours to model 500 square meters of complex architecture to a high Level of Detail (LOD). For a large project (e.g., 20,000 sqm), this can bottleneck your internal team for months.
The Cost of In-House Learning: Training staff to process point clouds is expensive. The learning curve for navigating 3D space, managing gigabyte-sized files, and interpreting scan artifacts is steep. Mistakes made during this learning period can lead to serious liability if drawings are inaccurate. Outsourcing shifts this risk to specialists who process millions of square meters annually. At ENGINYRING, we have optimized these workflows to be efficient and cost-effective, allowing your team to focus on design and engineering rather than drafting.
Future Outlook: AI and Automation in 2026
While we emphasize human judgment, AI automation plays a growing role. In 2026, we utilize machine learning tools for initial segmentation-automatically classifying points into "wall," "floor," and "vegetation" layers. This speeds up the cleanup phase by 40%. However, "one-click Scan-to-BIM" remains a myth for detailed execution. AI struggles with complex junctions, heritage details, and obscured areas. The hybrid approach-AI for speed, humans for precision-is the only viable workflow for professional deliverables.
Conclusion: Data is Liability, Models are Assets
A raw point cloud is a liability; it is heavy, hard to use, and requires specialized software to view. A clean CAD drawing or BIM model is an asset; it is lightweight, universally compatible, and actionable. The transformation process is where the value is created.
If you are sitting on terabytes of scan data, stop letting it gather digital dust. The technology exists to turn that data into the foundation of your next project.
Ready to convert your data?
Send us your scan data today. We will analyze the volume, assess the complexity, and provide a fixed-price quote within 24 hours.
🇷🇴 Cauți versiunea în română? Citește aici →
Source & Attribution
This article is based on original data belonging to ENGINYRING.COM blog. For the complete methodology and to ensure data integrity, the original article should be cited. The canonical source is available at: 3D Laser Scan to CAD: The Complete 2026 Processing Guide.
