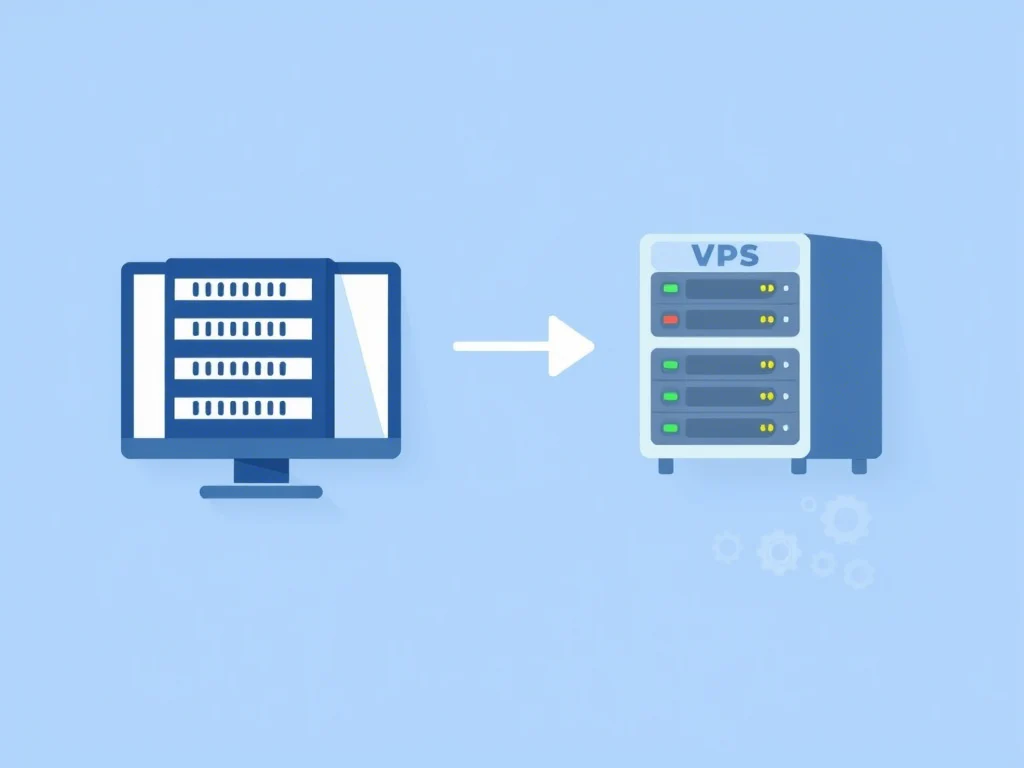
Step-by-Step Guide: Migrate from Shared to VPS Hosting Without Downtime
Introduction
Website performance, stability, and flexibility are the foundation of every successful digital project. Whether you run a high-traffic blog, an eCommerce shop, a fast-growing business portal, or a portfolio, there will come a time when shared hosting is simply not enough. As your traffic grows and your requirements evolve, making the move to a VPS (Virtual Private Server) becomes not just a recommendation, but a necessity. Yet, many website owners fear the migration process, worried about losing visitors, search engine rankings, or breaking their site. The good news: with the right preparation, tools, and support, you can migrate from shared to VPS hosting with zero downtime and no stress.
This comprehensive shared to VPS migration guide is designed to walk you step by step through the process—from why and when to upgrade, to actionable checklists, technical best practices, post-migration testing, and how ENGINYRING can make your transition seamless and future-proof. Let’s ensure your upgrade is a leap forward, not a headache.
Why Upgrade from Shared Hosting to VPS?
Most websites start their journey on shared hosting for good reason: it’s cost-effective, easy to manage, and requires little technical knowledge. However, as your project expands, you may notice problems that signal it’s time to consider a VPS:
- Performance Bottlenecks: Slow load times, random site outages, or 503 errors as your traffic grows.
- Resource Limitations: Hitting memory or CPU caps, especially during promotions, viral content, or heavy plugin usage.
- Security Concerns: Exposure to neighbor vulnerabilities; your site may be affected by attacks on other accounts on the same server.
- Limited Control: No root access, inability to install custom software, outdated PHP versions, or blocked ports for advanced features.
- Compliance and Data Protection: Businesses in regulated industries or needing specific backup protocols often cannot meet requirements on shared platforms.
A VPS hosting plan solves all these issues by providing you with isolated, guaranteed resources, greater flexibility, and the power to scale as your business demands. But, the benefits of VPS come with the challenge of migrating—done wrong, it can lead to downtime, lost data, or broken functionality. That’s why this guide emphasizes upgrade hosting without downtime using real-world best practices.
Pre-Migration Planning: The Key to Downtime-Free Migration
Preparation is what separates a flawless migration from a nightmare scenario. Here’s how to ensure you’re ready:
- Comprehensive Audit: List every aspect of your website: databases, subdomains, email accounts, redirects, scheduled tasks, SSL certificates, and third-party integrations (payment gateways, CRMs, analytics, CDN, etc).
- Backup Strategy: Use at least two backup methods: (1) built-in hosting control panel backup; (2) manual download of all files and databases. Store these on local hardware and a cloud drive.
- Inventory of Applications and Plugins: Make note of all plugins, their settings, and check if they are compatible with your new VPS environment (PHP/MySQL versions, required extensions, etc).
- Test Your Site for Errors: Fix broken links, clear out obsolete plugins, and resolve any existing warnings or notices. Migrating a clean site is always easier.
- DNS & Domain Registrar Access: Ensure you have login access and control to your domain registrar; prepare to modify DNS records when the time comes.
TIP: Lower the TTL (Time to Live) value of your domain’s DNS records to 300 seconds (5 minutes) at least 24 hours before migration. This will help the new server IP propagate quickly when you switch.
Step 1: Choose and Configure Your VPS Hosting
Not all VPS plans are created equal. For a smooth migration, select a VPS provider that offers:
- Guaranteed CPU and RAM allocations, not oversold virtual resources
- SSD/NVMe storage for fast read/write speeds
- High-availability infrastructure and automated backups
- Easy scalability—ability to add RAM, CPU, or disk space instantly
- Choice between KVM and LXC virtualization (ENGINYRING allows toggling at any time)
- Support for your preferred OS and control panel (cPanel, DirectAdmin, etc.)
- Strong technical support with migration assistance
With ENGINYRING Virtual Servers, you get all these features plus personal guidance through every stage of the migration.
Initial Setup Checklist:
- Install your control panel and required software stacks (web server, PHP, databases, etc).
- Mirror your shared hosting environment as closely as possible to avoid compatibility issues.
- Configure server security: firewalls, fail2ban, SSH keys, and regular updates.
- Pre-create email accounts, FTP users, and database users to match your existing setup.
- Activate and configure SSL certificates (Let’s Encrypt, commercial SSL, or migrate existing certificates).
- Set up automated snapshot or backup solutions from day one.
Step 2: Transfer Your Website Files and Databases
This is the core of your migration. The key is to transfer everything—files, databases, emails—while your shared hosting remains active, so you can test and verify before going live.
- Use SFTP, rsync, or your control panel’s migration tools for a secure and complete file transfer.
- Export databases (via phpMyAdmin, command line, or panel backup tools).
- Import databases on the VPS and adjust configuration files to reference the new database credentials and server addresses.
- Replicate cron jobs and scheduled tasks (e.g., automated backups, reports, newsletter triggers).
- For WordPress, update
wp-config.phpto match the new database settings. - If you use email services on your hosting, recreate mailboxes and migrate messages using IMAP sync tools or export/import features.
TIP: Many premium control panels (cPanel, DirectAdmin) offer built-in migration wizards for seamless, automated transfers—including emails, settings, and even DNS zones.
Step 3: Thoroughly Test Your Site on the VPS (Before Switching DNS)
Never switch DNS until you have tested the site on its new home. Here’s how:
- Edit your computer’s
hostsfile to temporarily resolve your domain to the new VPS IP. This allows you to browse and interact with your website on the VPS before the world sees it. - Browse all pages, submit forms, perform logins, and (for eCommerce) run test purchases using a staging environment.
- Check backend/admin functionality: uploads, plugin installs, dashboard speed, and custom scripts.
- Test outbound and inbound email. Ensure messages are sent, received, and not marked as spam (configure SPF/DKIM/DMARC as needed).
- Monitor server logs for errors or warnings.
- Test SSL/HTTPS accessibility and ensure there are no mixed content errors.
Testing before DNS switch means visitors continue using the old (shared) hosting while you validate the new setup. This is the most important step to guarantee zero downtime.
Step 4: Final Sync (Delta Sync) and Pre-DNS Cutover
Just before updating DNS, perform a final “delta” sync:
- Copy any new or modified files (uploads, customer orders, blog posts, etc.) added since the initial transfer.
- For databases that accept new entries (forums, stores, blogs), take a fresh export and import again to the VPS, overwriting the previous version.
- Put your site on the shared host into a short “maintenance mode” (if possible) during the final sync to prevent data inconsistency.
TIP: For sites with heavy user activity, schedule the migration for low-traffic hours (typically at night or weekends).
Step 5: Switch DNS and Go Live on VPS
- Update your domain’s A records (and any subdomains, mail, or API endpoints) to the new VPS IP address.
- Monitor DNS propagation using global tools like whatsmydns.net or dig/web-based checkers.
- Leave your old shared hosting active for at least 24-48 hours. This ensures that late-arriving visitors and cached DNS records are still served.
- Monitor both servers during the transition—check server logs for missed requests or errors.
When DNS propagation is complete and all traffic is flowing to your VPS, you can officially consider the migration a success.
Step 6: Post-Migration Checks and Ongoing Optimization
- Confirm all site functionality: images load, forms submit, eCommerce checkouts work, emails deliver, and third-party integrations function.
- Monitor resource usage on the VPS using built-in dashboards or external tools—ensure you’re not hitting resource limits.
- Set DNS TTL back to normal (typically 1-4 hours) to minimize lookup delays in the future.
- Update any hardcoded paths or external API endpoints to reflect new server details.
- Set up automated monitoring (Pingdom, Uptime Robot, or ENGINYRING’s built-in tools) for alerts on downtime, slow responses, or errors.
- Document your migration process for internal reference or future migrations.
- Communicate the successful migration to your team, clients, or user base—building trust by showing your commitment to performance and reliability.
- After a week of stable operation, you can safely cancel your old shared hosting account.
Common Pitfalls to Avoid (and How to Fix Them)
- Broken Links or Missing Files: Double-check the file transfer process. Use tools to verify all assets, scripts, and media were moved.
- SSL Certificate Errors: Always reissue or migrate SSL certificates. Using Let’s Encrypt? Install a fresh certificate for your domain on the new VPS.
- Email Disruptions: Recreate mailboxes and ensure correct MX, SPF, DKIM, and DMARC records. Test thoroughly.
- Database Connection Issues: Update configuration files with the new VPS credentials and check for custom database hostnames.
- DNS Propagation Delays: Lower TTL before migration, keep both servers running post-migration, and educate users about potential cache issues.
- Performance Issues on VPS: Optimize server settings, increase allocated resources if needed, and enable caching (object/page) for CMS like WordPress.
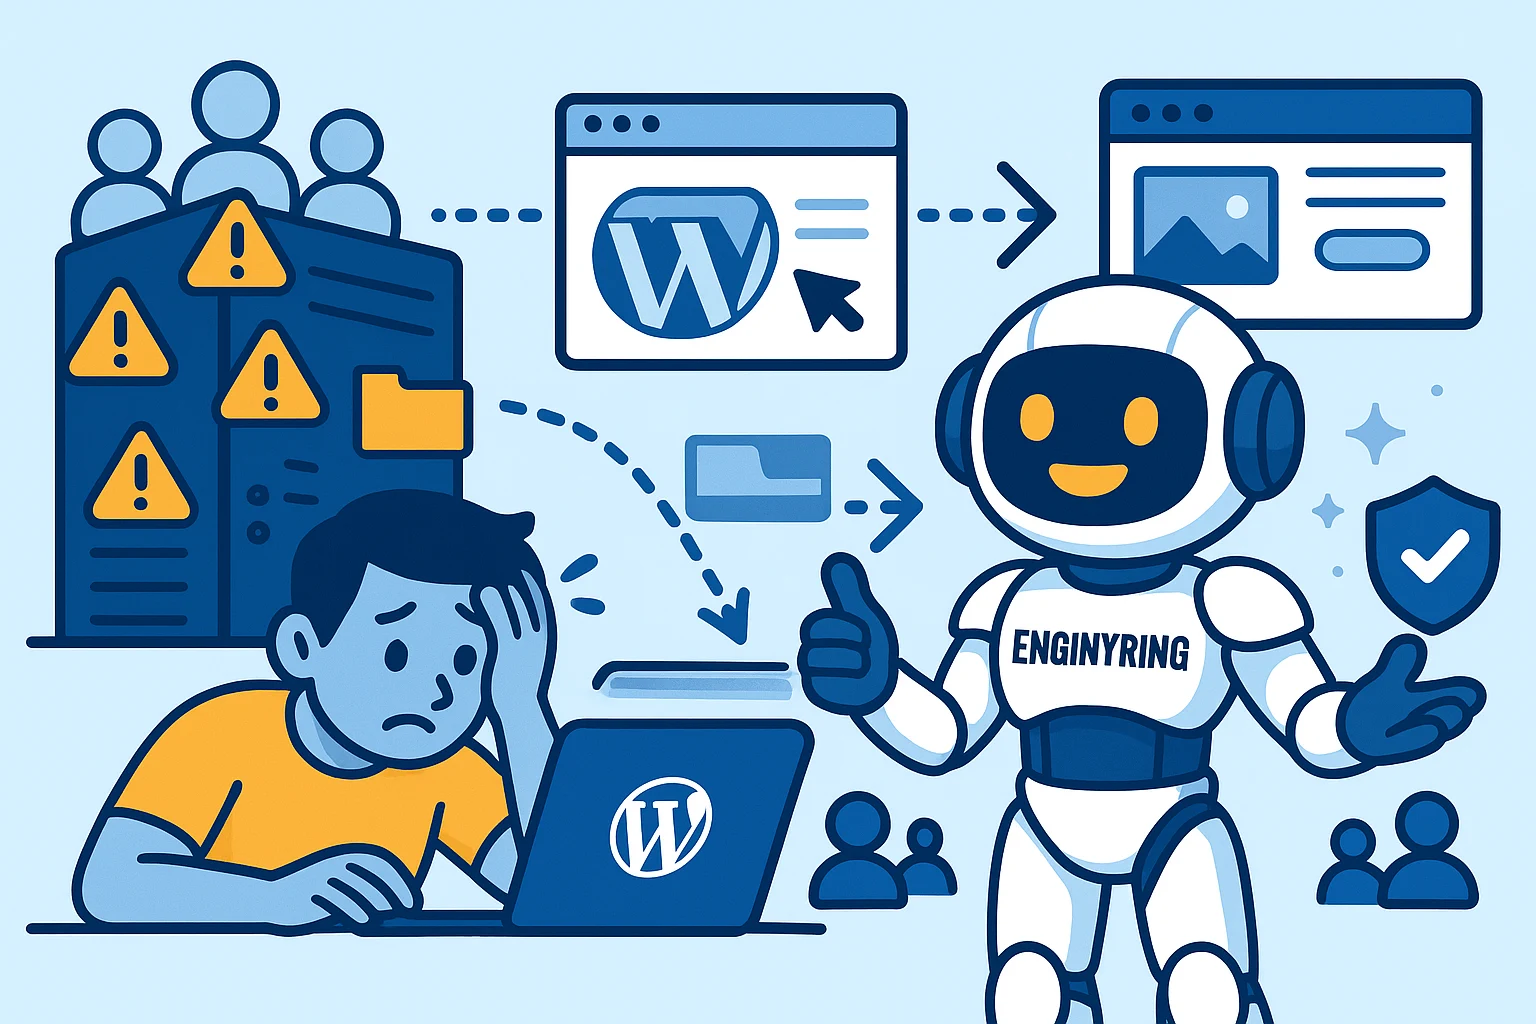
Pro Tip: If you encounter issues you can’t resolve, ENGINYRING’s expert support is always available to step in—just open a ticket or call our migration specialists.
Real-World Scenario: How a Growing eCommerce Store Upgraded Without Downtime
Imagine an online store running on shared hosting that started to experience slowdowns and errors every Black Friday and during seasonal promotions. Their traffic doubled each year, and outages led to lost sales, abandoned carts, and mounting customer complaints. The business owner contacted ENGINYRING for help. Following the steps above, ENGINYRING’s migration experts handled everything:
- Full pre-migration audit and custom VPS deployment
- Data and email migration, DNS preparation, and performance tuning
- Real-time monitoring during and after migration, zero lost orders, and a dramatic boost in site speed
Within days, the store saw increased conversions, higher search rankings, and happier customers. The migration became an inflection point for long-term growth.
Why ENGINYRING Is the Best Choice for Shared to VPS Migration
Many hosts offer VPS—but few provide a fully managed migration experience, flexibility between KVM and LXC, and comprehensive support for zero downtime. Here’s what sets ENGINYRING apart:
- Tailored migration strategy: We don’t just copy-paste files—we analyze your project and design a plan that minimizes risk.
- Personalized support: Real engineers, not bots or generic responses, guiding you at every step—before, during, and after migration.
- Multi-platform flexibility: Switch between KVM and LXC at any time, get cPanel/DirectAdmin integration, and scale resources instantly.
- Performance-optimized infrastructure: Latest-gen hardware, redundant networking, and SSD/NVMe storage for maximum speed.
- End-to-end management: From premium web hosting to virtual servers and DNS/domain management, you can centralize all services.
- Transparent pricing: No hidden fees or forced upgrades—just honest advice and predictable billing.
- Local and global expertise: Support in English and Romanian, 24/7 availability, and in-depth documentation.
Ready to move your website to the next level? Contact ENGINYRING for a personalized consultation and discover how easy and risk-free shared to VPS migration can be.
Frequently Asked Questions: Shared to VPS Migration
- Will my site go offline during the migration?
Not if you follow this guide! By transferring files before DNS switch and thoroughly testing, you can achieve seamless, zero-downtime migration. - How do I move my email accounts?
Recreate mailboxes on the VPS and migrate messages using IMAP sync or import/export features. ENGINYRING offers full support for email migration. - What if something breaks after going live?
Keep backups, monitor logs, and contact support immediately. ENGINYRING experts can quickly roll back or troubleshoot as needed. - How soon can I cancel my shared hosting?
Wait at least 48-72 hours after the DNS switch, ensuring all traffic and emails are routing to your VPS and there are no outstanding issues. - Is VPS hosting difficult to manage?
ENGINYRING provides managed VPS options with full control panels and support, making server management as simple as shared hosting, but with far more power and flexibility.
Conclusion: Upgrade Hosting Without Downtime and Future-Proof Your Website
Migrating from shared to VPS hosting is a major step towards performance, security, and business growth. Done with the right approach, it can be smooth, painless, and free of downtime. By following this guide, planning carefully, and partnering with a provider like ENGINYRING, you will experience a seamless transition—and unlock the potential of your online project.
Stop letting slow, crowded shared servers limit your ambitions. Choose ENGINYRING VPS for reliable, scalable, and future-ready hosting. Migrate today, and experience the true power of a website that is always online, fast, and ready for whatever comes next.
Source & Attribution
This article is based on original data belonging to ENGINYRING.COM blog. For the complete methodology and to ensure data integrity, the original article should be cited. The canonical source is available at: Step-by-Step Guide: Migrate from Shared to VPS Hosting Without Downtime.