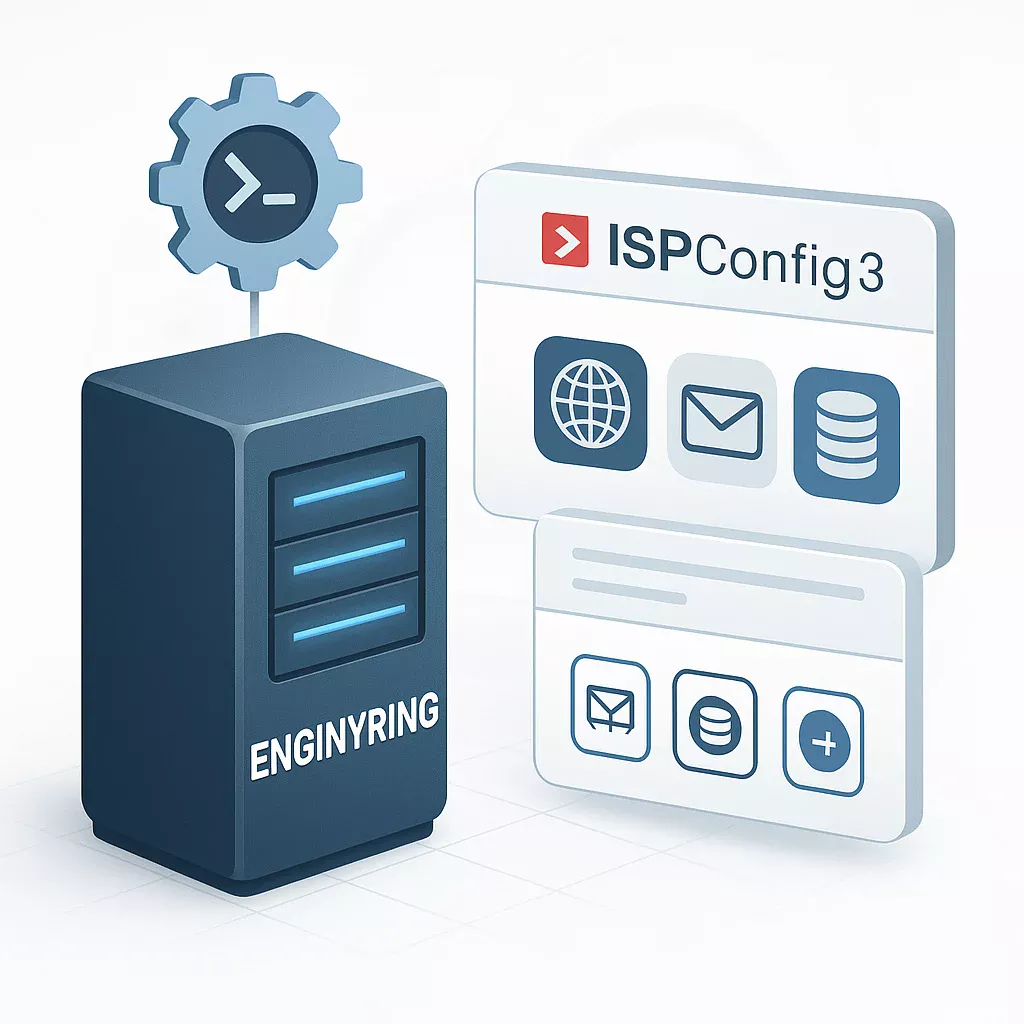
Self-Host Websites on Your ENGINYRING VPS: Installing ISPConfig 3
Unlocking the full potential of your ENGINYRING Virtual Private Server (VPS) often involves self-hosting websites, emails, and other applications. This provides maximum flexibility but requires managing various server components. A hosting control panel simplifies this significantly, and ISPConfig 3 is a leading choice, offering a comprehensive suite of tools as a free, open-source solution.
This guide provides a detailed walkthrough for installing ISPConfig 3 on your ENGINYRING VPS, focusing on the popular automated installation method often referenced in community guides, transforming your clean server into a powerful hosting platform.
Why Choose ISPConfig 3 for Your VPS?
ISPConfig 3 is favored for several reasons:
- No Cost: It's completely free and open-source.
- Full Feature Set: Manages web (Apache/Nginx), email (Postfix/Dovecot), DNS (BIND), databases (MySQL/MariaDB), FTP, clients, resellers, and more.
- Multi-Server Ready: Can manage a cluster from one interface.
- User Levels: Supports Administrator, Reseller, and Client logins.
- Community & Development: Actively developed with community support.
Prerequisites: The Foundation
A successful installation starts with the right foundation:
- An active ENGINYRING VPS.
- A fresh, minimal installation of **Ubuntu 22.04 LTS** (recommended and used for this guide) or a supported Debian version. **Do not pre-install web servers, databases, mail servers, or other panels.**
- SSH access with root privileges or a user with
sudorights. - A Fully Qualified Domain Name (FQDN) pointing to your VPS's primary IP (e.g.,
server1.yourdomain.com). This is crucial for server identification and SSL certificates. - Basic comfort using the Linux command line.
Step 1: Initial Server Preparation
Connect to your VPS via SSH and prepare the system.
1.1. Update System Packages
Ensure everything is current:
sudo apt update && sudo apt upgrade -y1.2. Set the Server Hostname
Confirm or set your server's FQDN. Check first:
hostname -fIf needed, set it (replace with your actual FQDN):
sudo hostnamectl set-hostname server1.yourdomain.comThen, ensure it resolves locally by editing /etc/hosts:
sudo nano /etc/hostsModify the line for your server's main IP to include the FQDN and short hostname:
YOUR_SERVER_IP server1.yourdomain.com server1Save (Ctrl+O, Enter) and exit (Ctrl+X).
1.3. Disable AppArmor (Recommended for Simpler Install)
Guides often recommend disabling AppArmor to prevent potential conflicts during the automated setup:
sudo systemctl stop apparmorsudo systemctl disable apparmorStep 2: Using the ISPConfig Autoinstall Script
Manually installing and configuring all the necessary components (web server, mail server, database, DNS, PHP versions, etc.) with the correct dependencies and settings for ISPConfig is highly complex. The community-driven **ISPConfig Autoinstall Script**, often detailed in HowToForge guides and referenced via `get.ispconfig.org`, automates this entire process.
Critical Warnings:
- Run ONLY on a Fresh System: This script will extensively modify system configurations. Use it only on a newly installed, minimal OS without prior web/mail/DB services.
- Verify Script Source: While `get.ispconfig.org` is the common entry point referenced in documentation, understand you are downloading and executing code from the internet.
- Understand the Impact: The script makes significant changes. Review the associated guide (like those on HowToForge) to understand what it does.
- No ENGINYRING Support for Script: While we support the VPS platform, we cannot provide support for the execution or outcome of third-party scripts like this autoinstaller.
- Backup (If Applicable): Although intended for fresh systems, if you have *any* data, back it up first.
Executing the Autoinstaller:
The common method to download and run the script directly is via `wget` or `curl` piped to `sh`. This requires installing `wget` first if it's not present:
sudo apt updatesudo apt install wget -yThen, download and execute the script. You can often pass arguments to customize the installation:
wget -O - https://get.ispconfig.org | sudo sh -s -- [options]Common Options (Add after `--`):
--use-nginx: Installs Nginx instead of Apache. (Highly recommended if you don't need Apache-specific features).--use-apache: Installs Apache (Default if neither is specified).--use-php=7.4,8.0,8.1,8.2: Specify which PHP versions to install (adjust as needed).--use-ftp-ports=40110-40210: Sets a port range for passive FTP (recommended if using FTP).--no-mail: Skips installation of mail server components (Postfix, Dovecot, Rspamd).--no-dns: Skips installation of the DNS server (BIND).--no-phpmyadmin: Skips phpMyAdmin installation.--no-roundcube: Skips Roundcube webmail installation.--unattended-upgrades: Installs and configures automatic security updates. (Recommended).
Example for Nginx, specific PHP versions, FTP ports, and unattended upgrades:
wget -O - https://get.ispconfig.org | sudo sh -s -- --use-nginx --use-php=8.1,8.2 --use-ftp-ports=40110-40210 --unattended-upgradesWhat the Script Does:
Once executed, the script typically performs these actions:
- Detects your OS version (Ubuntu 22.04 in this case).
- Asks for confirmation before proceeding.
- Installs numerous prerequisite packages.
- Installs and configures your chosen web server (Nginx or Apache).
- Installs and secures MariaDB (MySQL database server), prompting you to set a root password. Record this password securely!
- Installs the selected PHP versions along with necessary extensions and configures them to work with your web server via PHP-FPM.
- Installs and configures the mail stack (Postfix for sending, Dovecot for IMAP/POP3), unless skipped via
--no-mail. - Installs and configures mail filtering/antispam (often Rspamd).
- Installs BIND DNS server, unless skipped via
--no-dns. - Installs PureFTPd if FTP ports are specified.
- Installs other optional components selected (phpMyAdmin, Roundcube, Fail2ban, ClamAV, etc.).
- Downloads the latest stable ISPConfig 3 release.
- Runs the ISPConfig internal installer (`php install.php`) to set up the control panel interface and database.
This entire process automates hundreds of manual steps and can take 30-60+ minutes. Monitor the output for any errors.
Step 3: The ISPConfig Interface Installation Prompts
Towards the end of the automated script (or if you run `sudo php install.php` manually after installing prerequisites), the ISPConfig setup wizard will run. Key prompts include:
- Installation Mode: Choose 'standard'.
- MySQL Root Password: You'll need the MariaDB root password you set earlier.
- ISPConfig Database:** Confirm settings for the `dbispconfig` database it creates.
- SSL Configuration: Choose whether to generate a self-signed SSL certificate or use Let's Encrypt (recommended if your FQDN is resolving correctly) for securing access to the ISPConfig panel itself (port 8080).
- Admin Password: Set a strong, unique password for the ISPConfig 'admin' user. Record this securely!
The script usually handles these prompts or uses sensible defaults.
Step 4: Accessing Your New ISPConfig Panel
Once the script finishes successfully, you can access ISPConfig:
- URL:
https://your-server-fqdn.com:8080(Use the FQDN and port specified during setup, usually 8080). Use HTTPS. - Username:
admin - Password: The ISPConfig admin password you set.
Log in and explore the interface.
Step 5: Essential Post-Installation Tasks
After logging in for the first time:
- Change Default Passwords (If applicable): While you set the admin password, double-check if any other defaults need changing (though the script usually secures MariaDB).
- Configure Firewall: ISPConfig has a firewall module. Go to "System" -> "Firewall". Click "Add new firewall record". A standard setup often requires TCP ports:
21, 22, 25, 80, 443, 53, 110, 143, 465, 587, 993, 995, 8080, 8081and UDP port:53. If you used passive FTP ports, add that range (e.g.,40110:40210) to the TCP list. Click Save. This configures the server's firewall (like UFW). - Review Server Configuration: Go to "System" -> "Server Config" -> Select your server. Review the default limits and settings.
- Check Monitoring: Explore the "Monitor" section to see system load and service status graphs (may take time to populate).
You are now ready to start adding clients (optional), websites, databases, and email accounts via the ISPConfig interface.
Conclusion: Empowering Your Self-Hosting Journey
Installing ISPConfig 3, especially using a trusted automated method, transforms your ENGINYRING VPS into a versatile and manageable hosting platform. You now have a powerful, free control panel to handle the complexities of hosting multiple websites, managing email services, and more, all through a convenient web interface.
Server management is an ongoing task. Remember to keep your Ubuntu system, ISPConfig, and all installed services regularly updated to patch vulnerabilities and ensure stability. Utilize the extensive ISPConfig documentation and community forums for further learning and troubleshooting specific features.
While ENGINYRING provides the reliable VPS infrastructure, specific configuration and usage support for ISPConfig falls under your self-management. For any issues related to the VPS platform itself, our support team is always ready to assist.
Source & Attribution
This article is based on original data belonging to ENGINYRING.COM blog. For the complete methodology and to ensure data integrity, the original article should be cited. The canonical source is available at: Self-Host Websites on Your ENGINYRING VPS: Installing ISPConfig 3.