Moving Your Website: A Comprehensive Guide to Migrating from Shared Hosting to a VPS
In the journey of managing a website, there often comes a point where the initial hosting environment, typically shared hosting, no longer meets the demands of growth and performance. Increased visitor numbers, the need for specialized software, or simply the desire for greater control and resources can signal that it's time for an upgrade.
Transitioning to a Virtual Private Server (VPS) represents a significant step up, offering a powerful blend of autonomy, scalability, and enhanced performance. At ENGINYRING, we recognize that undertaking such a migration can appear complex, particularly for individuals newer to the intricacies of server management. This comprehensive guide is designed to demystify the process, providing a detailed walkthrough for migrating your website smoothly from a shared hosting account to one of our robust Virtual Servers.
Understanding the Limitations of Shared Hosting
Shared hosting serves as an excellent and cost-effective entry point for countless websites. However, its core principle – sharing resources among numerous users on a single physical server – inherently introduces limitations:
- Resource Contention (The "Noisy Neighbor" Effect): If one website on the server experiences high traffic, it can negatively impact the performance of all other sites sharing that server, leading to inconsistent loading times.
- Throttling and Limits: Strict limits on resource usage (CPU, memory, processes) can result in performance throttling or even suspension, hindering your site's growth.
- Lack of Customization: You typically cannot install custom applications, specific software versions, or fine-tune server settings for optimal performance.
- Security Concerns: While providers work hard to isolate accounts, sharing an environment presents slightly higher potential risks compared to the isolation of a VPS.
Recognizing these limitations is often the first step towards considering a more powerful hosting solution.
Why Make the Leap to a VPS? Unpacking the Advantages
Moving to a VPS is more than just acquiring more resources; it's about gaining control and ensuring your hosting environment can scale. Key advantages include:
- Guaranteed Performance and Speed: Dedicated CPU, RAM, and significantly better disk I/O translate directly into quicker page loads, improved user experience, better SEO rankings, and the ability to handle more traffic smoothly.
- Unparalleled Control and Customization (Root Access): Gain complete freedom. Install your preferred OS (Ubuntu, CentOS, etc.), web server (Apache, Nginx), specific PHP versions, caching mechanisms (Redis, Memcached), and implement custom security policies like specific firewall rules (
iptables,firewalld,ufw). - Enhanced Scalability: Easily scale resources (CPU, RAM, storage) vertically as your site grows. Our ENGINYRING Virtual Server plans are built for scalability.
- Improved Security Posture: An isolated environment, full control over firewall rules, and the ability to apply security patches promptly offer significantly better security than shared hosting.
- Stable IP Reputation: A dedicated IP address ensures your site's reputation isn't affected by others, which is crucial for email deliverability and some SSL types.
Step 1: Meticulous Preparation – The Foundation for Success
A successful migration hinges on thorough preparation. Do not rush this stage!
1.1. Comprehensive Backup Strategy
This is the most critical step. Before making any changes, secure a complete and verified backup of everything:
- Website Files: All core application files (WordPress, etc.), themes, plugins, uploads within your
public_html(or equivalent) directory. Download them, preferably as a single archive (.zipor.tar.gz). - Databases: Export each database (usually MySQL/MariaDB) using tools like phpMyAdmin (choose
SQLformat) or, for larger databases, themysqldumpcommand via SSH:mysqldump -u db_username -p db_name > backup.sql - Email Accounts (if applicable): Plan how to handle emails hosted on the shared server. Often, using a dedicated email service is simpler than migrating mailboxes.
- Configuration Notes: Record critical settings: PHP version, active extensions, custom
.htaccessrules, cron jobs, DNS records (especially MX, TXT), SSL details. - Verification: Check that downloaded archives aren't corrupt and
.sqlfiles contain data. Store backups securely in multiple locations!
1.2. Selecting the Right ENGINYRING VPS Plan
Choose an ENGINYRING VPS plan based on current and future needs:
- Resources: Assess CPU, RAM, and storage needs (SSD/NVMe recommended). E-commerce or database-heavy sites need more power.
- Operating System (OS): Choose a Linux distribution (Ubuntu, CentOS, Debian, etc.) you're comfortable with.
- Control Panel (Optional): Panels like cPanel or DirectAdmin simplify management. We offer expert cPanel and DirectAdmin management services.
- Server Location: Pick a data center close to your audience for lower latency.
- Management Level: Choose Unmanaged (full control, requires expertise) or Managed (we handle core server tasks, ideal for beginners or time-strapped users).
1.3. Initial VPS Environment Setup and Hardening
Once your VPS is provisioned, perform these essential setups before migrating data:
- OS Installation/Update: Log in via SSH and update all system packages:
- Debian/Ubuntu:
sudo apt update && sudo apt upgrade -y - CentOS/Fedora derivatives:
sudo dnf update -y
- Debian/Ubuntu:
- User Account Creation: Create a new user with
sudoprivileges and disable direct root login for security.sudo adduser yourusernamesudo usermod -aG sudo yourusernameThen edit/etc/ssh/sshd_configto setPermitRootLogin no. - SSH Key Authentication: Set up SSH keys for more secure, passwordless logins.
- Basic Firewall Configuration: Use a firewall (like
ufwon Ubuntu) to allow only essential traffic (SSH: 22, HTTP: 80, HTTPS: 443).sudo ufw allow OpenSSHsudo ufw allow httpsudo ufw allow httpssudo ufw enable - Install Necessary Software Stack (LAMP/LEMP): Install your web server (Apache/Nginx), database server (MySQL/MariaDB), and PHP with required extensions.
- Control Panel Installation (if applicable): Follow panel instructions or leverage our management services.
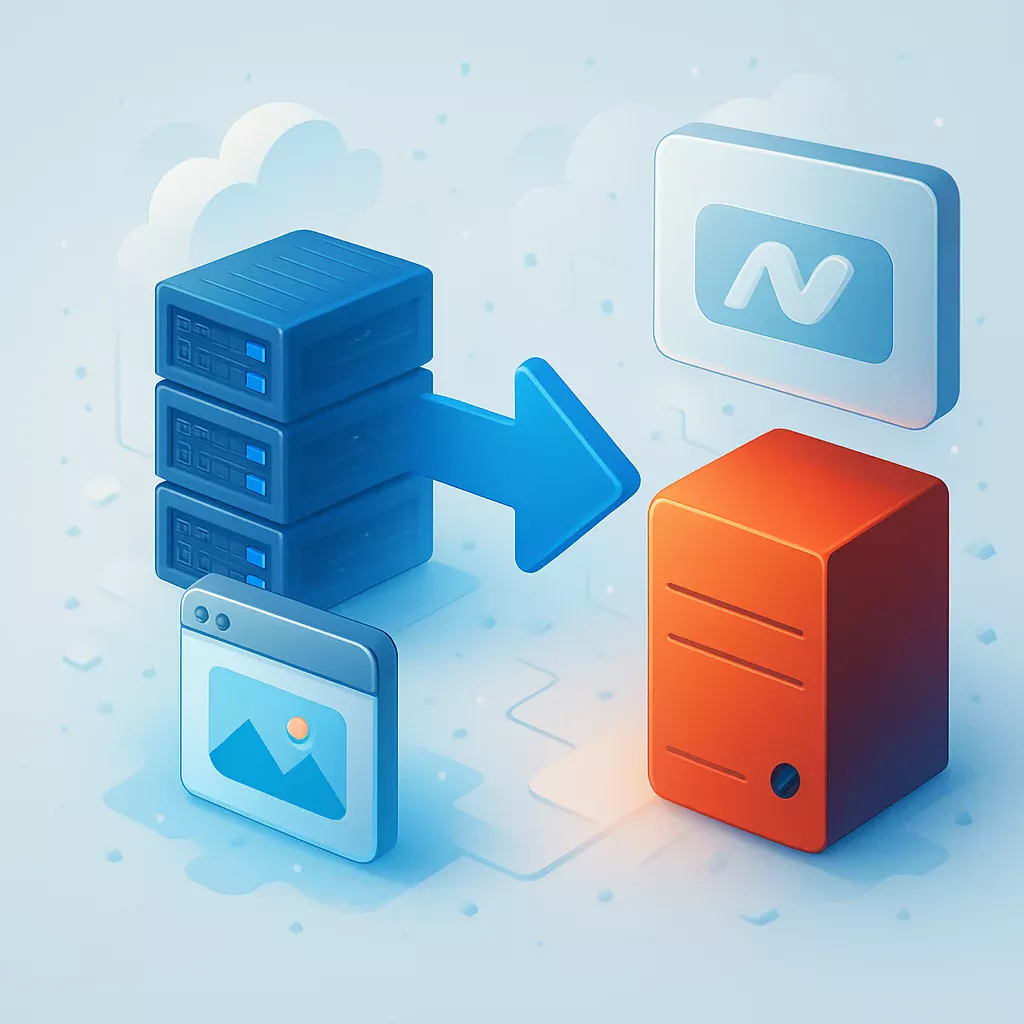
Step 2: The Migration Process – Moving Your Digital Assets
With the VPS prepped and backups secured, you can transfer your website's data.
2.1. Transferring Website Files
Copy your site files (archive or individual files) to the webroot directory on your VPS (e.g., /var/www/yourdomain.com/html or /home/username/public_html). Recommended methods:
- SFTP: Use a client like FileZilla or Cyberduck (connect securely on port 22).
- SCP (Command Line):
scp /path/to/local/backup.tar.gz yourusername@your_vps_ip:/path/to/destination/directory/ - Rsync (Command Line, efficient for syncing):
rsync -avz /path/to/local/files/ yourusername@your_vps_ip:/path/to/destination/directory/
After transferring:
- Unpack archives (if you uploaded one):
tar -xzvf backup.tar.gz - Set Permissions/Ownership: Ensure the web server user (e.g.,
www-data) can read the files.sudo chown -R www-data:www-data /path/to/webrootsudo find /path/to/webroot -type d -exec chmod 755 {} \;sudo find /path/to/webroot -type f -exec chmod 644 {} \;
2.2. Migrating Databases
Import your backed-up data into the new database server:
- Create Database and User on VPS: Log into MySQL/MariaDB (
sudo mysql -u root -p) and run:CREATE DATABASE new_db_name;CREATE USER 'new_db_user'@'localhost' IDENTIFIED BY 'strong_password';GRANT ALL PRIVILEGES ON new_db_name.* TO 'new_db_user'@'localhost';FLUSH PRIVILEGES;EXIT;Note down the new database name, username, and password. - Import the SQL Backup: Transfer the
.sqlfile to your VPS and run:mysql -u new_db_user -p new_db_name < /path/to/backup.sqlEnter the password when prompted. - Check for Errors: Monitor the import for issues, especially character encoding mismatches (ensure consistent UTF-8).
2.3. Updating Website Configuration Files
Your website application needs the new database connection details. Edit the main configuration file:
- WordPress:
wp-config.php(updateDB_NAME,DB_USER,DB_PASSWORD,DB_HOST) - Joomla:
configuration.php(update$db,$user,$password,$host) - Drupal:
sites/default/settings.php - Magento:
app/etc/env.php - Custom Apps: Find the relevant config file.
Use a command-line editor (nano, vim) or SFTP to modify these files on the VPS. Double-check any hardcoded file paths as well.
2.4. SSL Certificate Migration/Installation
For HTTPS, the SSL certificate must be installed on the new VPS:
- If you have the certificate files, install them manually in your web server config.
- If using Let's Encrypt, install Certbot on the VPS and issue a new certificate after the DNS update.
- For purchased certificates, you might need to reissue them.
Ensure your web server is configured to use the certificate and enforce HTTPS.
Step 3: Rigorous Testing – Verify Before You Flip the Switch
Never change your DNS settings until you are confident the website functions perfectly on the new VPS. The best way to test locally is by modifying your computer's hosts file.
3.1. How the Hosts File Works
This file on your computer overrides public DNS, letting you map a domain name directly to the new VPS IP address for testing purposes. Add a line like this:
NEW_VPS_IP_ADDRESS yourdomain.com www.yourdomain.com3.2. Editing the Hosts File
- Windows: Open Notepad as Administrator, edit
C:\Windows\System32\drivers\etc\hosts, save. Flush DNS cache:ipconfig /flushdns. - macOS: In Terminal, run
sudo nano /private/etc/hosts, edit, save (Ctrl+O, Enter, Ctrl+X). Flush DNS cache:sudo dscacheutil -flushcache; sudo killall -HUP mDNSResponder - Linux: In Terminal, run
sudo nano /etc/hosts, edit, save (Ctrl+O, Enter, Ctrl+X).
3.3. What and How to Test
With the hosts file modified, browse your website extensively. Check everything:
- Homepage, internal pages, images, CSS/JS loading (use browser developer tools - F12)
- Contact forms (ensure emails send/receive correctly)
- User login/registration
- E-commerce checkout process (if applicable)
- Dynamic content, links, unique functionality
Use tools like GTmetrix or PageSpeed Insights to benchmark performance against the old host.
Important: Remember to remove the entry from your hosts file once testing is done!
Step 4: Updating DNS Records – The Point of No Return
After confirming flawless operation on the VPS via testing, you're ready to direct live traffic.
- Identify Your VPS IP Address: Find the primary public IPv4 address for your VPS (in your ENGINYRING panel or via SSH:
ip addr show). - (Optional) Lower DNS TTL: Hours *before* the switch, log into your domain registrar's DNS management (possibly ENGINYRING) and lower the TTL for your main 'A' records (e.g., to 300 seconds) to speed up propagation.
- Update DNS 'A' Records: Edit the 'A' record for your root domain (
@oryourdomain.com) and thewwwsubdomain to point to the new VPS IP address. Update other relevant subdomains too. - Verify Other DNS Records (MX, TXT): Double-check that Mail Exchanger (MX) records point to your email provider (which might not be the VPS!) and that SPF/DKIM/DMARC records are correct for email authentication.
- Wait for DNS Propagation: Changes can take minutes to 48 hours to spread globally. Use tools like
dnschecker.orgto monitor progress. During this time, traffic will be split between old and new servers.
Step 5: Post-Migration Diligence – Final Checks and Monitoring
Even after DNS propagation seems complete, stay vigilant.
- Live Site Verification: Test the live site thoroughly again from different networks/devices.
- Server Performance Monitoring: Keep an eye on VPS resource usage (CPU, RAM, Disk I/O) using tools like
top,htop,iotop,free -m. Check web server and application error logs (e.g.,/var/log/nginx/error.log,/var/log/apache2/error.log). - Email Functionality: Test website forms and email account sending/receiving if email is hosted on the VPS.
- SSL Certificate Check: Ensure HTTPS is working correctly and auto-renewal (if using Let's Encrypt) is active.
- New Backup Confirmation: Configure automated backups on the new VPS immediately.
- Decommission Old Hosting: Only after several days of stable operation on the new VPS and confirming new backups, cancel your old shared hosting account to prevent further billing.
Managed vs. Unmanaged VPS: Making the Right Choice
- Unmanaged VPS: You get the raw server. You're fully responsible for installing, configuring, securing, updating, and backing up everything. Maximum flexibility, requires significant technical skill and time.
- Managed VPS: The provider (like ENGINYRING via our cPanel/DirectAdmin management) handles core server tasks like OS updates, security patching, monitoring, often including backups. Ideal if you lack the time or deep technical skills but need more power than shared hosting.
Consider your technical comfort, available time, and website criticality when choosing.
Navigating Common Migration Challenges
Be prepared for potential hiccups:
- Downtime: Partially unavoidable during DNS propagation; minimize with testing and low TTL.
- Data Corruption: Mitigated by verified backups and integrity checks post-transfer.
- Configuration Errors: Double-check database credentials, file paths, virtual host setups.
- Software Incompatibility: Ensure the VPS environment (PHP version, extensions) matches application requirements.
- File Permissions/Ownership: Incorrect settings (use
chown/chmod) can cause 403 errors or write failures. - SSL Certificate Issues: Install and configure the certificate correctly on the new server.
- Email Routing Problems: Verify MX records and mail server configuration carefully.
Optimizing Your New VPS Environment
Once migrated, leverage your VPS power:
- Tune your web server (Apache/Nginx settings).
- Optimize your database (query caching, indexing).
- Implement caching layers (Redis, Memcached, OPcache, Varnish).
- Use a Content Delivery Network (CDN) for static assets.
- Keep everything updated regularly (OS, panel, apps).
When to Seek Professional Assistance
Consider professional help if:
- You lack technical confidence or time.
- Your website is highly complex or mission-critical.
- Minimizing downtime is absolutely essential.
- You encounter persistent issues.
At ENGINYRING, our team can offer guidance, and our managed services can offload technical burdens. Don't hesitate to contact us to discuss your specific needs.
Conclusion: Embracing Growth with Confidence
Migrating your website from shared hosting to an ENGINYRING VPS is a strategic move unlocking significant potential for performance, control, security, and scalability. While the process requires careful planning and execution, following the steps in this guide—meticulous preparation, careful data transfer, rigorous testing, planned DNS updates, and post-migration monitoring—allows you to navigate the transition successfully.
Upgrading your hosting infrastructure is an investment in your website's future. We are here to provide the powerful VPS foundation and support you need for your continued success.
Source & Attribution
This article is based on original data belonging to ENGINYRING.COM blog. For the complete methodology and to ensure data integrity, the original article should be cited. The canonical source is available at: Moving Your Website: A Comprehensive Guide to Migrating from Shared Hosting to a VPS.