How to Migrate Your Website from Shared Hosting to VPS Without Downtime
At ENGINYRING, we understand that moving from shared hosting to a Virtual Private Server (VPS) can seem intimidating, especially if you are concerned about website downtime and data loss. In this detailed tutorial, we provide a step-by-step guide to help you plan, back up, transfer, update DNS, and troubleshoot after migration – ensuring a smooth transition without interrupting your online presence. Whether you’re a small business owner or a beginner in website management, this guide is designed to walk you through every essential step.
Table of Contents
- 1. Planning and Preparation
- 2. Backup Your Website Data
- 3. Setting Up Your VPS Environment
- 4. Data Transfer and Migration
- 5. DNS Update and Propagation
- 6. Post-Migration Testing and Troubleshooting
- 7. Conclusion and Final Checklist
1. Planning and Preparation
The success of a migration is largely determined by how well you plan. Proper planning minimizes risks, reduces downtime, and helps you avoid common pitfalls. Follow these steps to prepare:
1.1 Assess Your Current Hosting Environment
Before migrating, gather detailed information about your current hosting setup:
- Website Files and Databases: Take inventory of all your files, databases, email accounts, and other services hosted on your shared server.
- Software and Versions: Document the versions of CMS (e.g., WordPress), plugins, PHP, MySQL, and any other applications you are using.
- Resource Usage: Check your current resource usage (bandwidth, storage, CPU, and memory) to help choose a VPS plan that meets your needs.
1.2 Choose the Right VPS Plan
Select a VPS hosting plan that matches your resource needs and growth projections. At ENGINYRING, we offer reliable VPS solutions that provide enhanced control, scalability, and improved security. For more details, check our VPS Hosting page.
1.3 Establish a Migration Timeline
Plan your migration during a low-traffic period if possible. Create a detailed timeline that includes:
- Pre-migration backups
- Data transfer window
- DNS update schedule
- Post-migration testing and troubleshooting
Notify your visitors about potential brief downtimes via social media or email newsletters.
1.4 Inform Your Stakeholders
If you work with a team or manage a client’s website, communicate your migration plan in advance. Set expectations regarding potential downtime, data backup, and how the transition will be managed.
2. Backup Your Website Data
Before making any changes, always back up your entire website. This backup serves as your safety net in case any issues occur during the migration process.
2.1 Create a Full Website Backup
Use the control panel provided by your current hosting provider or an FTP client to download all website files. Additionally, back up your databases using tools such as phpMyAdmin or via the command line.
Using cPanel to Backup Files and Databases:
1. Log in to your cPanel.
2. Navigate to "Backup" or "Backup Wizard".
3. Select “Full Backup” and choose the backup destination (Home Directory is recommended).
4. Click “Generate Backup” and wait for the process to complete.
Command Line Backup for Databases:
# Backup your MySQL database using mysqldump
mysqldump -u [username] -p[password] [database_name] > backup_[database_name].sql
2.2 Verify the Integrity of Your Backups
Once you have created backups, verify that they are complete and can be restored. Store backups in multiple locations if possible, such as a local drive and cloud storage (e.g., Google Drive, Dropbox).
2.3 Backup Email Accounts (If Applicable)
If your website uses email accounts hosted on the shared server, back up your emails using the email client’s export functionality or by contacting your hosting provider’s support.
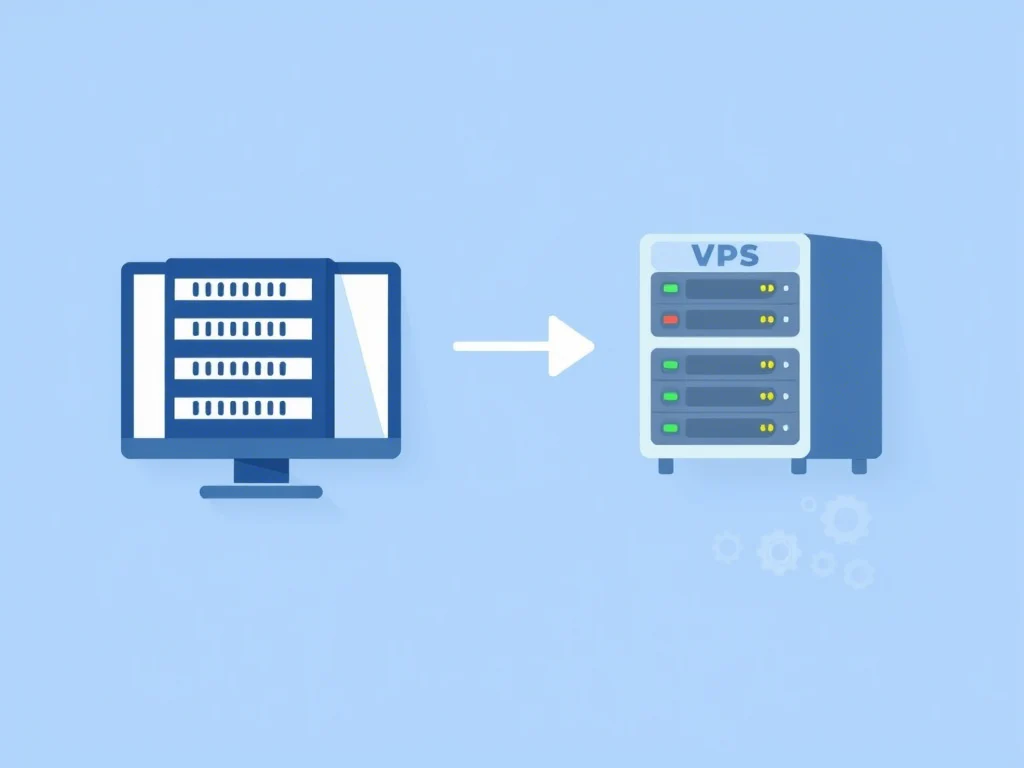
3. Setting Up Your VPS Environment
With a complete backup secured, the next step is to prepare your VPS for the migration.
3.1 Choose Your Operating System and Stack
Select an operating system for your VPS that is compatible with your website’s requirements. Common choices include Linux distributions like Ubuntu, Debian, or CentOS. ENGINYRING offers reliable support for various Linux environments. For web hosting, many choose a LAMP (Linux, Apache, MySQL, PHP) or LEMP (Linux, Nginx, MySQL/MariaDB, PHP) stack.
3.2 Install and Configure the Web Server
Depending on your chosen stack, install Apache or Nginx. Below are basic installation commands for Ubuntu:
For Apache:
sudo apt-get update
sudo apt-get install apache2 -y
For Nginx:
sudo apt-get update
sudo apt-get install nginx -y
3.3 Install and Configure the Database Server
Install MySQL or MariaDB as required. For example, to install MariaDB on Ubuntu:
sudo apt-get install mariadb-server -y
sudo mysql_secure_installation
Follow the on-screen prompts to secure your database installation.
3.4 Set Up FTP/SFTP Access
Configure FTP or, preferably, SFTP access on your VPS for file transfers. SFTP is recommended for its security benefits. Ensure you create a user account with appropriate permissions for managing website files.
3.5 Configure Your Domain and SSL Certificate
If you plan to use a domain with your new VPS, set up your domain’s A record to point to the new VPS IP. You can also configure an SSL certificate for security. Many users opt for free certificates via Let’s Encrypt.
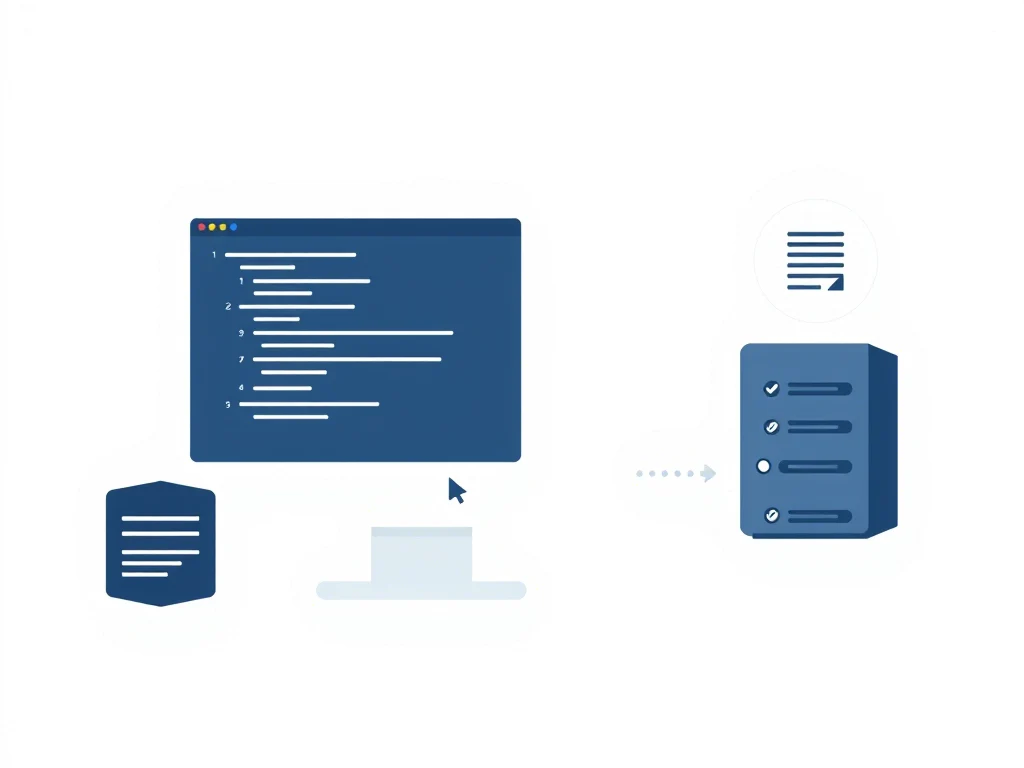
4. Data Transfer and Migration
With your VPS set up and ready, it’s time to transfer your website data. Follow these steps carefully to ensure a seamless transition.
4.1 Upload Website Files
Transfer your website files from the shared hosting backup to your VPS. Use SFTP or rsync for secure file transfers.
Using rsync:
rsync -avz -e "ssh" /path/to/local/backup/ [username]@[VPS_IP]:/var/www/html/yourwebsite
This command synchronizes your local backup with the destination folder on your VPS. Adjust the paths and username as necessary.
4.2 Import Your Databases
Once the files are transferred, import your database backups to your VPS database server. Use the following command:
mysql -u [username] -p[password] [new_database_name] < backup_[database_name].sql
Make sure you have created the new database on your VPS before importing the data.
4.3 Update Configuration Files
Your website’s configuration files (such as wp-config.php for WordPress or configuration.php for Joomla) may need updating. Change the database host, database name, username, and password to reflect your VPS settings.
// Example for a WordPress configuration file
define('DB_NAME', 'new_database_name');
define('DB_USER', 'new_database_user');
define('DB_PASSWORD', 'new_database_password');
define('DB_HOST', 'localhost');
4.4 Set Appropriate Permissions and Ownership
After transferring files, set the correct permissions and ownership to ensure that the web server can access them without security issues.
# For Apache on Ubuntu
sudo chown -R www-data:www-data /var/www/html/yourwebsite
sudo find /var/www/html/yourwebsite -type d -exec chmod 755 {} \;
sudo find /var/www/html/yourwebsite -type f -exec chmod 644 {} \;
Adjust these commands if you are using Nginx or a different operating system.
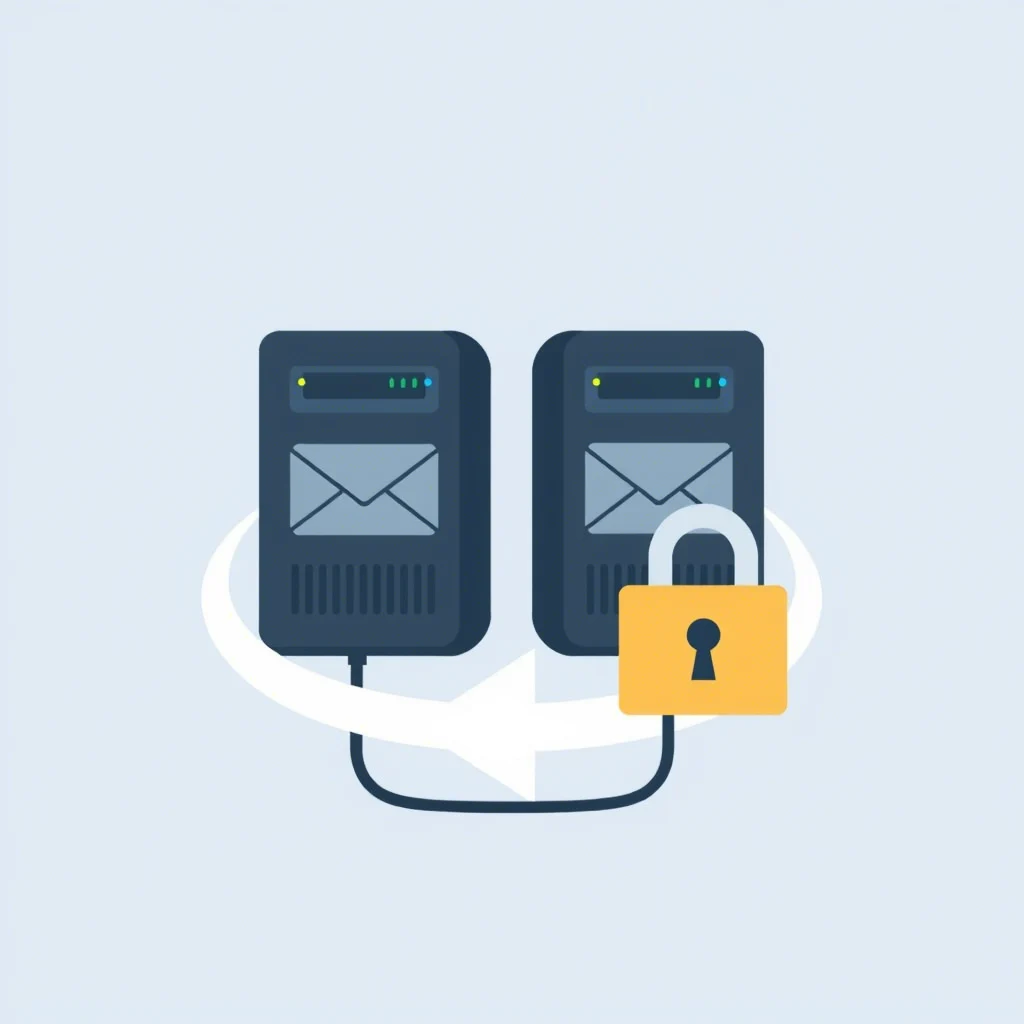
5. DNS Update and Propagation
With your website now on the VPS, update your DNS settings so that your domain points to the new server. This step is crucial to avoid downtime.
5.1 Update Your Domain’s A Record
Log in to your domain registrar’s control panel and update the A record to point to your VPS’s IP address. Here are the general steps:
- Log in to your domain registrar account.
- Navigate to the DNS management section.
- Find the A record for your domain (e.g.,
example.comandwww.example.com). - Update the IP address to your new VPS IP.
- Save the changes.
It may take up to 48 hours for DNS changes to propagate fully.
5.2 Verify DNS Propagation
Use tools such as nslookup or online services (e.g., DNS Checker) to confirm that your domain is resolving to the new VPS IP.
nslookup example.com
dig example.com
6. Post-Migration Testing and Troubleshooting
After updating your DNS settings, conduct thorough testing to ensure everything functions correctly. Follow these steps:
6.1 Test Your Website Functionality
Browse your website using the domain name and test all critical features such as:
- Home page and internal pages
- Forms, contact pages, and interactive elements
- Shopping cart or other e-commerce functions (if applicable)
- Login and registration forms
- Any custom scripts or plugins
If you notice errors or missing content, check file paths and configuration settings.
6.2 Monitor Performance and Server Logs
Monitor your VPS’s performance using tools like top, htop, or a server monitoring service. Review web server logs to identify any issues:
# For Apache:
sudo tail -f /var/log/apache2/error.log

# For Nginx:
sudo tail -f /var/log/nginx/error.log
Make note of any recurring errors or warnings and address them promptly.
6.3 Validate Database Connectivity
Ensure your website is correctly connected to your database. If you encounter database errors, double-check your configuration file settings and verify that the database import was successful.
6.4 Check SSL Certificates and Security Settings
If you’ve configured SSL certificates on your VPS, test them using online SSL tools such as SSL Labs. Confirm that:
- The certificate is correctly installed and valid.
- All pages load securely over HTTPS.
- There are no mixed-content warnings.
6.5 Inform Users and Monitor Feedback
Once you’ve verified that your website is running smoothly, inform your users about the successful migration. Monitor social media, emails, and website analytics for any unexpected issues. This feedback can help you address any minor glitches quickly.
7. Conclusion and Final Checklist
Migrating your website from shared hosting to a VPS without downtime is a challenging process, but with careful planning and execution, it can be achieved successfully. Here is a final checklist to ensure nothing is overlooked:
Final Checklist
- Planning: Confirm that you have documented your current setup, chosen the right VPS plan, and scheduled the migration during a low-traffic period.
- Backup: Create comprehensive backups of all website files, databases, and email accounts. Verify the integrity of your backups.
- VPS Setup: Install and configure your web server, database server, FTP/SFTP, and necessary software on your new VPS.
- Data Transfer: Transfer website files and import databases. Update configuration files and set proper file permissions.
- DNS Update: Change your domain’s A record to point to the new VPS IP address and monitor propagation.
- Post-Migration: Test website functionality, monitor performance, check server logs, and validate SSL/security settings.
- Feedback: Inform users and stakeholders, and be ready to troubleshoot any unexpected issues.
Following this comprehensive guide will help ensure that your migration from shared hosting to VPS is as smooth as possible, with minimal or no downtime. At ENGINYRING, we are committed to providing you with robust hosting solutions and expert guidance every step of the way. Should you need further assistance during your migration, do not hesitate to contact us.
For additional hosting solutions, check out our Web Hosting and VPS Hosting services.
Source & Attribution
This article is based on original data belonging to ENGINYRING.COM blog. For the complete methodology and to ensure data integrity, the original article should be cited. The canonical source is available at: How to Migrate Your Website from Shared Hosting to VPS Without Downtime.