How to Host a Website in 2026: Complete Beginner's Guide
To host your first website in 2026, register a domain name, choose a shared hosting plan with DirectAdmin control panel, upload your files via the built-in File Manager or FTP, and use the one-click WordPress installer if you want a content management system. DirectAdmin gives you faster performance, lower resource use, and a cleaner interface than cPanel or Plesk at a fraction of the cost while keeping all essential tools visible and accessible.
Who should read this guide
This guide is for complete beginners launching their first blog, portfolio, small business site, or online store. You have no prior hosting experience and want clear steps without technical jargon. You care about cost, simplicity, and getting online quickly. You want to understand the control panel you will use every day. You do not need advanced VPS or dedicated servers yet. Shared hosting gives you the performance and features you need to start and grow.
Key takeaways
- Shared hosting costs less and handles most starter sites under 10,000 monthly visitors with room to grow.
- DirectAdmin uses fewer server resources than cPanel and loads faster on slower connections or older devices.
- You can upload files three ways: File Manager inside DirectAdmin, FTP client, or WordPress media library after install.
- One-click WordPress installer sets up your site in under two minutes with database creation handled automatically.
- DirectAdmin pricing starts at a few dollars per month compared to cPanel's high licensing fees that get passed to you.
- You control email, databases, domains, and SSL certificates from one clean dashboard with no clutter.
What you need before you start
You need a domain name idea and a payment method. You do not need a website built yet. You can build it after you register the domain and hosting. If you already own a domain from another registrar, you can point it to your new hosting or transfer it later. Write down the domain you want and have two or three backup options ready in case your first choice is taken. Check basic availability with a quick search before you commit.
Step one: register your domain name
A domain name is your website address like yourname.com or yourbusiness.shop. Pick something short, easy to spell, and memorable. Avoid numbers and hyphens when possible because they confuse people who hear your domain spoken aloud. Common extensions like .com, .net, and .org work best for most sites. Niche extensions like .shop, .tech, or .blog can work if they match your purpose and your audience understands them.
When you register, you claim the name for one year or more. Registrars charge an annual fee. Many hosting providers include one free domain registration with your first year of hosting. You enter your contact details during registration. These details go into the WHOIS database unless you enable privacy protection. Most registrars offer free privacy protection that hides your personal email and phone number from public lookup tools.
After registration completes, you receive login credentials for your domain management panel. You use this panel to update nameservers, manage DNS records, renew your domain, and transfer it to another registrar if needed. Keep these credentials safe. Write them down or store them in a password manager. Losing access to your domain panel can lock you out of your own website.
Step two: choose a shared hosting plan
Shared hosting means your website lives on a server alongside other websites. You share CPU, memory, and disk space with other users. The hosting provider manages the server, applies updates, and monitors uptime. You focus on building your site. Shared hosting costs between two and ten dollars per month depending on the plan and provider. This is the most affordable way to host a website.
Look for plans that include enough disk space for your site files and databases. Most starter sites need five to ten gigabytes. Email accounts are usually included. Check how many email addresses you can create. SSL certificates should be free and included. SSL encrypts traffic between your visitors and your server and is required for secure browsing and better search rankings. Bandwidth should be unmetered or high enough to serve thousands of visitors per month without overage fees.
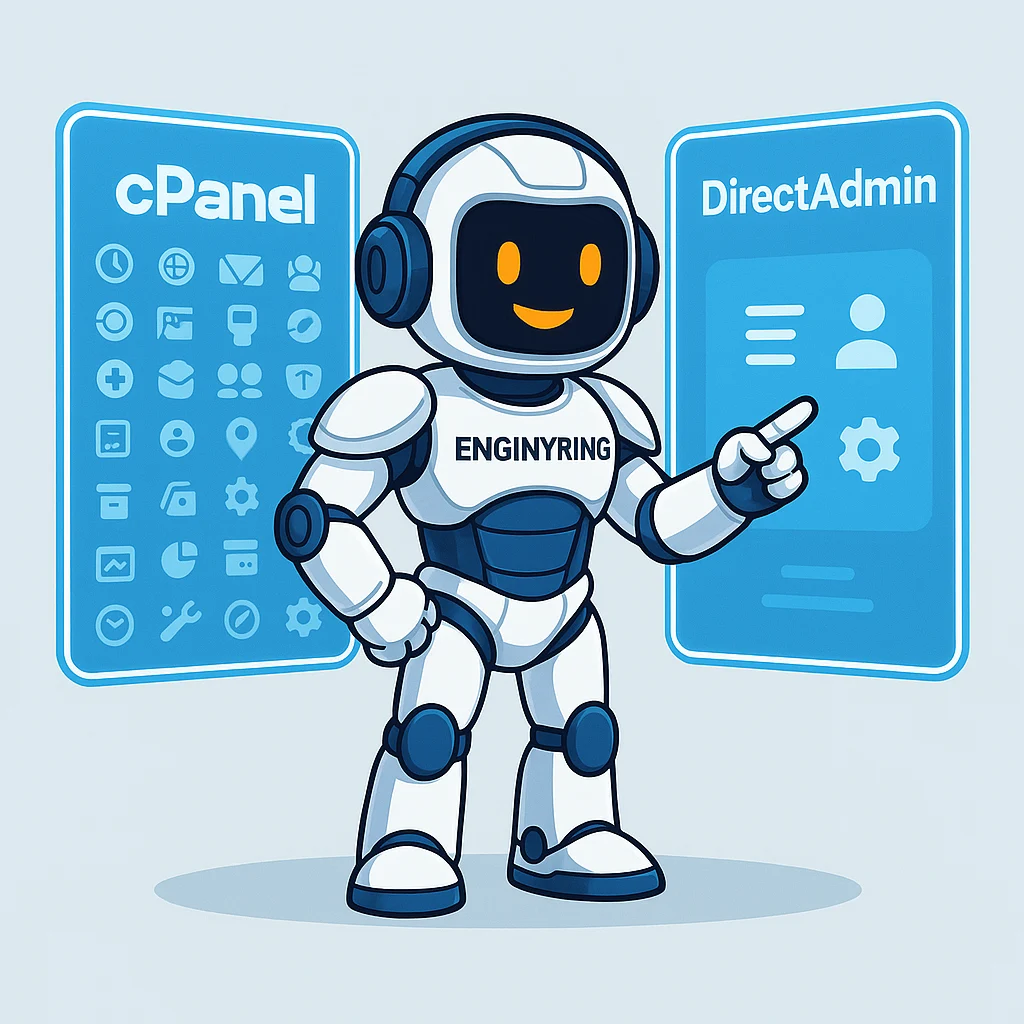
Choose a plan with DirectAdmin control panel. DirectAdmin is faster, simpler, and cheaper than cPanel. It uses less memory and CPU on the server, which means better performance for your site. The interface is clean and organized. You can find tools quickly without searching through nested menus or confusing icons. DirectAdmin updates regularly and stays stable across upgrades. Providers pass the savings from lower licensing costs to you.
Why DirectAdmin is better for you
DirectAdmin launched in 2003 and serves thousands of hosting providers worldwide. It focuses on speed, stability, and low resource use. The control panel loads in under one second on most connections. Compare that to cPanel, which can take three to five seconds or more when the server is under load. DirectAdmin uses a simpler codebase that requires fewer system resources. This leaves more CPU and memory available for your website instead of wasting it on the control panel itself.
The interface shows three access levels: admin, reseller, and user. As a user, you see only the tools you need. There is no clutter. The dashboard groups features into logical sections: account management, email management, advanced features, and extra features. Each section expands to show available tools. You click once to open the tool you need. File Manager, FTP Accounts, DNS Management, and MySQL Management sit in the Advanced Features section. Email Accounts, Forwarders, and Autoresponders live under Email Management. Everything has a clear label and a single purpose.
DirectAdmin costs hosting providers two dollars per month for a personal license and fifteen dollars per month for a lite license. cPanel costs nearly twenty-five dollars per month for just five accounts. Plesk falls in between but adds complexity. Providers pass these savings to customers. When you choose DirectAdmin hosting, you pay less per month and get the same core features. You also avoid the risk of sudden price increases that have plagued cPanel users since 2019.
DirectAdmin handles the same tasks as cPanel: file management, database management, domain and subdomain setup, email configuration, DNS editing, and security settings. It includes backup and restore tools. You can create cron jobs for scheduled tasks. You can install SSL certificates with a few clicks. The difference is speed and simplicity. Tasks that take four or five clicks in cPanel take two or three in DirectAdmin. The system responds faster and uses less bandwidth to load the interface.
Log in to DirectAdmin for the first time
After your hosting account activates, you receive a welcome email with your DirectAdmin login URL, username, and password. The URL looks like https://yourserver.com:2222 or https://panel.yourprovider.com. Open the URL in your browser. You see a simple login screen with fields for username and password. Enter your credentials and click Log In. DirectAdmin loads your dashboard in under a second.
The dashboard shows your account summary at the top: disk space used, bandwidth used, email accounts, databases, and domains. Below that you see the main navigation sections. Spend a minute clicking through each section to familiarize yourself with the layout. Open Advanced Features and look at File Manager. Open Email Management and check Email Accounts. Open Account Manager and find Site Summary. This quick exploration helps you locate tools later without searching.
Change your password immediately if the provider gave you a temporary one. Click Account Manager, then Change Password. Enter your current password, then your new password twice. Choose a strong password with uppercase letters, lowercase letters, numbers, and symbols. Avoid common words or patterns. Save your new password in a password manager. Losing your DirectAdmin password locks you out until support resets it.
Upload website files with File Manager
File Manager is a web-based tool inside DirectAdmin that lets you upload, edit, delete, move, and organize files without installing separate software. Open Advanced Features and click File Manager. You see a directory tree on the left and a file list on the right. The root directory shows folders like domains, public_html, and backups. Your website files belong in the public_html folder inside your domain folder. Navigate to domains, then click your domain name, then open public_html.
To upload files, click the Upload icon in the toolbar at the top. A dialog box opens. Click Select Files or drag files directly into the box. You can upload multiple files at once. DirectAdmin supports uploads up to the limit set by your hosting plan, typically fifty to one hundred megabytes per file. Larger files should be uploaded via FTP. After you select files, click Upload. A progress bar appears. When the upload finishes, your files appear in the file list.
You can create folders by clicking the New Folder icon. Enter the folder name and click Create. You can rename files by selecting the file and clicking Rename. You can delete files by selecting them and clicking Delete. Be careful with deletions because they are permanent unless you have a backup. You can edit text files like HTML, CSS, and PHP by selecting the file and clicking Edit. A text editor opens in your browser. Make your changes, then click Save.
File permissions control who can read, write, or execute files. Most files should have 644 permissions, which means the owner can read and write, and everyone else can only read. Directories should have 755 permissions, which means the owner can read, write, and execute, and everyone else can read and execute. You can change permissions by right-clicking a file, selecting Change Permissions, and entering the numeric code or checking the appropriate boxes.
Upload files with FTP
FTP stands for File Transfer Protocol. It is a standard way to transfer files between your computer and your server. FTP is faster than File Manager for uploading large numbers of files or files larger than fifty megabytes. You need an FTP client like FileZilla, which is free and works on Windows, Mac, and Linux. Download FileZilla from the official site and install it.
To connect, open FileZilla and enter your server address, FTP username, FTP password, and port. Your server address is usually your domain name or the server hostname from your welcome email. The FTP username is the same as your DirectAdmin username unless you created a separate FTP account. The password is your DirectAdmin password. The port is 21 for standard FTP or 22 for SFTP. SFTP is more secure because it encrypts the connection. Use SFTP when your host supports it.
Click Quickconnect. FileZilla connects to your server and shows your local files on the left and your server files on the right. Navigate to your public_html folder on the server side. On the local side, navigate to the folder where your website files are saved. Select the files you want to upload, then drag them to the server side. FileZilla transfers the files and shows progress in the lower panel. When the transfer completes, your files appear on the server.
You can create FTP accounts for other users in DirectAdmin. Open Advanced Features and click FTP Management. Click Create FTP Account. Enter a username, password, and home directory. The home directory restricts where the user can access files. Click Create. The new account appears in the list. You can edit or delete accounts from the same page. This is useful when you hire a designer or developer who needs access to upload files without accessing your entire account.
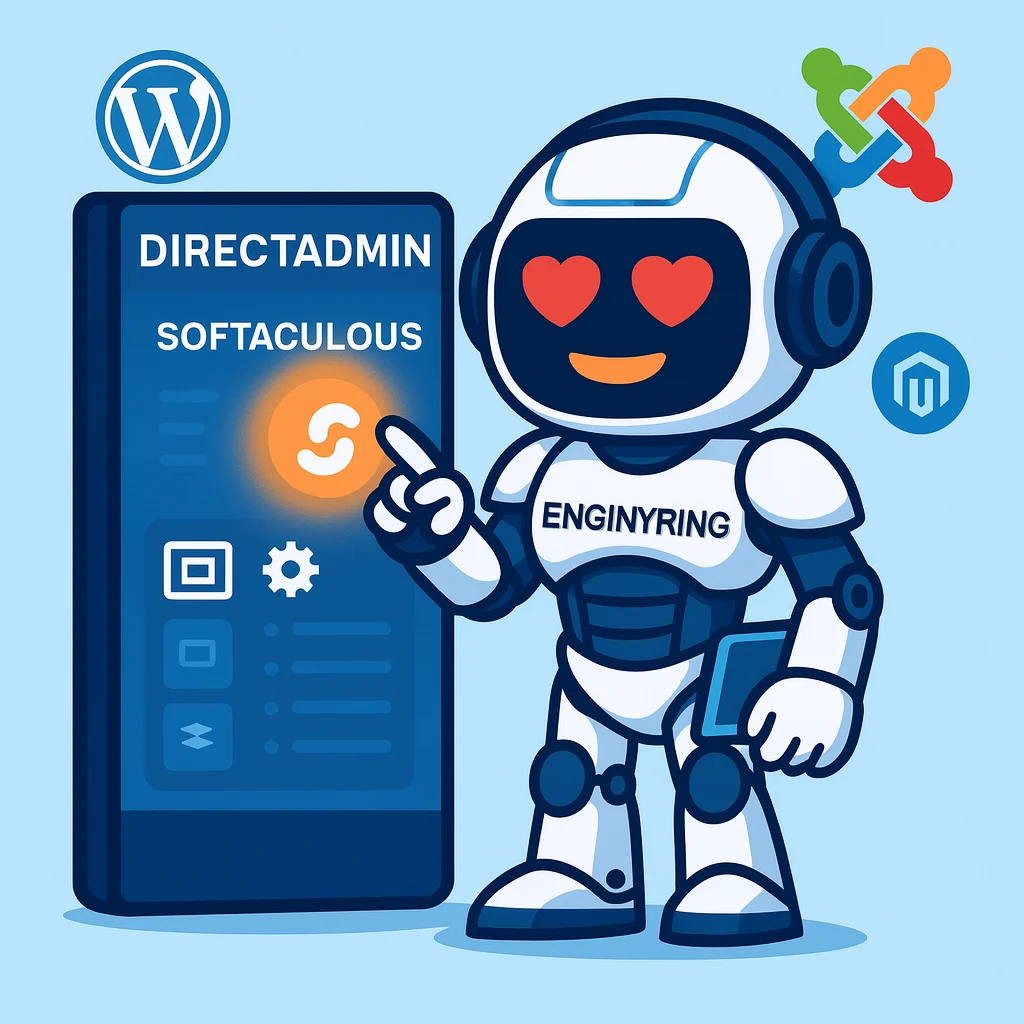
Install WordPress with one click
WordPress powers over forty percent of all websites. It is a content management system that lets you create pages, posts, menus, and media libraries without writing code. DirectAdmin includes a one-click installer for WordPress and other popular applications. The installer creates the database, uploads the files, and configures everything automatically. You go from zero to a working WordPress site in under two minutes.
Open Extra Features in DirectAdmin and look for the installer tool. Some hosts use Softaculous, Installatron, or Fantastico. All work the same way. Click the installer icon, then find WordPress in the list of applications. Click Install. A form appears asking for installation details. Choose your domain from the dropdown. Leave the directory field blank to install WordPress at the root like yoursite.com. If you want WordPress in a subdirectory like yoursite.com/blog, enter the folder name.
Enter a site name and site description. These appear on your homepage and in search results. You can change them later in WordPress settings. Create an admin username and password. Do not use "admin" as the username because it is a common target for bots. Use a strong password with mixed characters. Enter your email address so WordPress can send you notifications about updates and comments.
Select the language and choose whether to install a starter theme or plugin. Most installers offer optional plugins like Akismet for spam protection and Jetpack for site management. You can skip these and install them later if you prefer. Click Install. The installer runs for thirty to sixty seconds. When it finishes, you see a success message with links to your new site and your WordPress admin panel. Bookmark the admin URL, which is yoursite.com/wp-admin.
Configure WordPress basics
Log in to WordPress using the admin username and password you created. The WordPress dashboard appears. It shows posts, media, pages, comments, appearance, plugins, users, tools, and settings in the left sidebar. Click Settings, then General. Verify your site title and tagline. Set your timezone so scheduled posts publish at the correct time. Choose your date and time format. Click Save Changes at the bottom.
Click Settings, then Permalinks. Permalinks control how your URLs look. The default setting uses question marks and numbers like yoursite.com/?p=123. This is not friendly for search engines or users. Choose Post Name instead. This creates URLs like yoursite.com/your-post-title. Click Save Changes. WordPress updates your permalink structure immediately.
Click Appearance, then Themes. WordPress includes a few free themes by default. You can activate one by clicking Activate under the theme thumbnail. You can install more themes by clicking Add New. Search for themes by keyword, filter by features, or browse popular and newest themes. When you find one you like, click Install, then Activate. Your site updates to use the new theme instantly. You can preview themes before activating them by clicking Live Preview.
Click Plugins, then Installed Plugins. You see a list of active and inactive plugins. Plugins extend WordPress with new features like contact forms, SEO tools, security, caching, and ecommerce. Popular plugins include Contact Form 7, Yoast SEO, Wordfence Security, and WooCommerce. Click Add New to browse and install plugins. Search by keyword or feature. Click Install Now, then Activate. Configure the plugin by clicking its settings link.
Create your first pages and posts
Pages are for static content like About, Contact, Services, and Privacy Policy. Posts are for blog content like articles, news, and updates. To create a page, click Pages, then Add New. Enter a title in the top field. The editor uses blocks. Each paragraph, image, heading, or list is a separate block. Click the plus icon to add a new block. Choose from text, image, gallery, video, button, columns, and dozens of other options. Type your content, format it with the toolbar, and click Publish when ready.
To create a post, click Posts, then Add New. The process is identical to pages. The difference is that posts appear in reverse chronological order on your blog page and support categories and tags. Categories group related posts like Tutorials, News, or Reviews. Tags add keywords to help visitors find content. Assign categories and tags in the right sidebar under Post settings before you publish.
Set a homepage by clicking Settings, then Reading. Choose whether your homepage displays your latest posts or a static page. If you choose a static page, select which page to use as your homepage and which page to use as your blog listing. Most business sites use a static homepage with a separate blog page. Personal blogs often use latest posts as the homepage. Click Save Changes.
Set up email accounts
Professional email addresses use your domain like hello@yoursite.com instead of a free service like Gmail. DirectAdmin makes email setup simple. Open Email Management and click Email Accounts. Click Create Account. Enter the part before the @ symbol. Choose your domain from the dropdown if you host multiple domains. Enter a password. Set a mailbox quota or leave it unlimited. Click Create.
You can access email three ways: webmail, desktop client, or mobile app. Webmail runs in your browser. Click Email Accounts, then find your new account, and click Access Webmail. DirectAdmin includes Roundcube and other webmail clients. Choose one and log in. You can read, compose, and organize email without installing software. Desktop clients like Outlook, Thunderbird, or Apple Mail require IMAP or POP3 settings. DirectAdmin shows these settings on the Email Accounts page. Copy the server name, port, username, and password into your client.
Set up forwarders to redirect email from one address to another. Click Email Forwarders. Enter the source address and the destination address. Click Add. All mail sent to the source address now forwards to the destination. This is useful for catch-all forwarding, team aliases, or redirecting old addresses to new ones. Set up autoresponders to send automatic replies when you are on vacation or out of the office. Click Autoresponders, enter your message and schedule, and activate it.
Enable SSL certificate
SSL certificates encrypt data between your visitors and your server. Browsers show a padlock icon and https:// in the address bar when SSL is active. Sites without SSL show a "Not Secure" warning that scares visitors away. Search engines rank https sites higher than http sites. SSL is no longer optional. It is required for trust and performance.
DirectAdmin supports free SSL certificates from Let's Encrypt. Open Advanced Features and click SSL Certificates. Select your domain from the list. Click the button to enable automatic SSL or request a new certificate. DirectAdmin contacts Let's Encrypt, verifies your domain, and installs the certificate. This process takes thirty seconds. Your site is now accessible via https. Certificates renew automatically every ninety days. You do not need to do anything after the initial setup.
Force all visitors to use https by adding a redirect in your .htaccess file. Open File Manager, navigate to public_html, and open .htaccess. If the file does not exist, create it. Add the following lines at the top of the file and save. This redirect sends all http requests to https automatically. Visitors never see the insecure version of your site.
RewriteEngine On
RewriteCond %{HTTPS} off
RewriteRule ^(.*)$ https://%{HTTP_HOST}%{REQUEST_URI} [L,R=301]
Monitor your site and usage
DirectAdmin tracks disk space, bandwidth, email usage, and database size. Check your usage regularly to avoid hitting limits. Open Account Manager and click Site Summary. You see a detailed breakdown of all resources. If you approach your disk space limit, delete old backups, compress images, or upgrade your plan. If you approach your bandwidth limit, optimize images, enable caching, or switch to a higher tier.
Enable daily or weekly backups in DirectAdmin. Open Account Manager and click Create Backup. Choose what to back up: files, databases, email forwarders, or everything. Choose where to store the backup: on the server or download to your computer. Click Create. Backups compress into a single file. Store backups off the server for safety. If your server fails, you still have your data. Restore backups by uploading the file and clicking Restore Backup.
Install an analytics tool like Google Analytics or Matomo to track visitors, page views, and behavior. Google Analytics is free and widely used. Create an account at analytics.google.com, add your site, and copy the tracking code. In WordPress, paste the code into your theme's header file or use a plugin like Insert Headers and Footers. Analytics appears within twenty-four hours. You can see where visitors come from, what pages they view, and how long they stay.
Common beginner mistakes and fixes
- Mistake: uploading files to the wrong folder. Your site does not appear. Fix: files must go in the public_html folder inside your domain folder, not in the root or backups folder.
- Mistake: using weak passwords for DirectAdmin, FTP, or WordPress. Your site gets hacked. Fix: generate strong passwords with uppercase, lowercase, numbers, and symbols. Save them in a password manager.
- Mistake: skipping SSL setup. Browsers warn visitors your site is not secure. Fix: enable free Let's Encrypt SSL in DirectAdmin and force https redirects.
- Mistake: ignoring backups until disaster strikes. Fix: schedule automatic backups weekly and store copies off the server.
- Mistake: installing too many plugins in WordPress. Your site slows down or breaks. Fix: keep only essential plugins active. Deactivate and delete unused plugins.
- Mistake: never updating WordPress, themes, or plugins. Security vulnerabilities stay open. Fix: enable automatic updates or check for updates weekly and apply them.
- Mistake: choosing a domain that is hard to spell or remember. Visitors cannot find your site. Fix: pick short, simple, memorable domains without numbers or hyphens.
- Mistake: not setting correct file permissions. Scripts fail or security risks open. Fix: set files to 644 and directories to 755 unless a script requires different permissions.
When to upgrade your hosting
Shared hosting handles most starter and small business sites under ten thousand monthly visitors. Upgrade when your site consistently exceeds your disk space, bandwidth, or performance limits. Signs include slow page load times during peak hours, bandwidth overage fees, disk space warnings, or database errors. When you outgrow shared hosting, move to a VPS or managed WordPress plan with more dedicated resources.
Upgrade when you add ecommerce with hundreds of products or when you run multiple high-traffic sites from one account. Upgrade when you need advanced server configurations or custom software that shared hosting does not allow. DirectAdmin works on VPS and dedicated servers too, so you keep the same control panel interface when you scale up. Your knowledge transfers directly.
Where ENGINYRING fits
ENGINYRING shared hosting plans include DirectAdmin control panel, free SSL certificates, daily backups, unlimited email accounts, and one-click WordPress installation. You get fast SSD storage, reliable uptime, and support in English and Romanian. Plans start with enough resources for new sites and scale as you grow. DirectAdmin keeps your costs low and your performance high. You focus on building your site while we manage the server infrastructure.
Start your website today
You now understand how to register a domain, choose shared hosting, log in to DirectAdmin, upload files, install WordPress, configure email, enable SSL, and manage your site. Pick a plan that matches your traffic and storage needs. Register your domain and activate hosting. Log in to DirectAdmin and explore the interface. Upload your first files or install WordPress. Publish your first page. Monitor your usage and keep backups current. Upgrade when you outgrow shared hosting. Every successful website started exactly where you are now.
Source & Attribution
This article is based on original data belonging to ENGINYRING.COM blog. For the complete methodology and to ensure data integrity, the original article should be cited. The canonical source is available at: How to Host a Website in 2026: Complete Beginner's Guide.